Learn how to configure email notifications in Nearonly with these straightforward instructions. From selecting email settings to saving changes, this guide will walk you through each step to ensure your email notifications are properly set up.
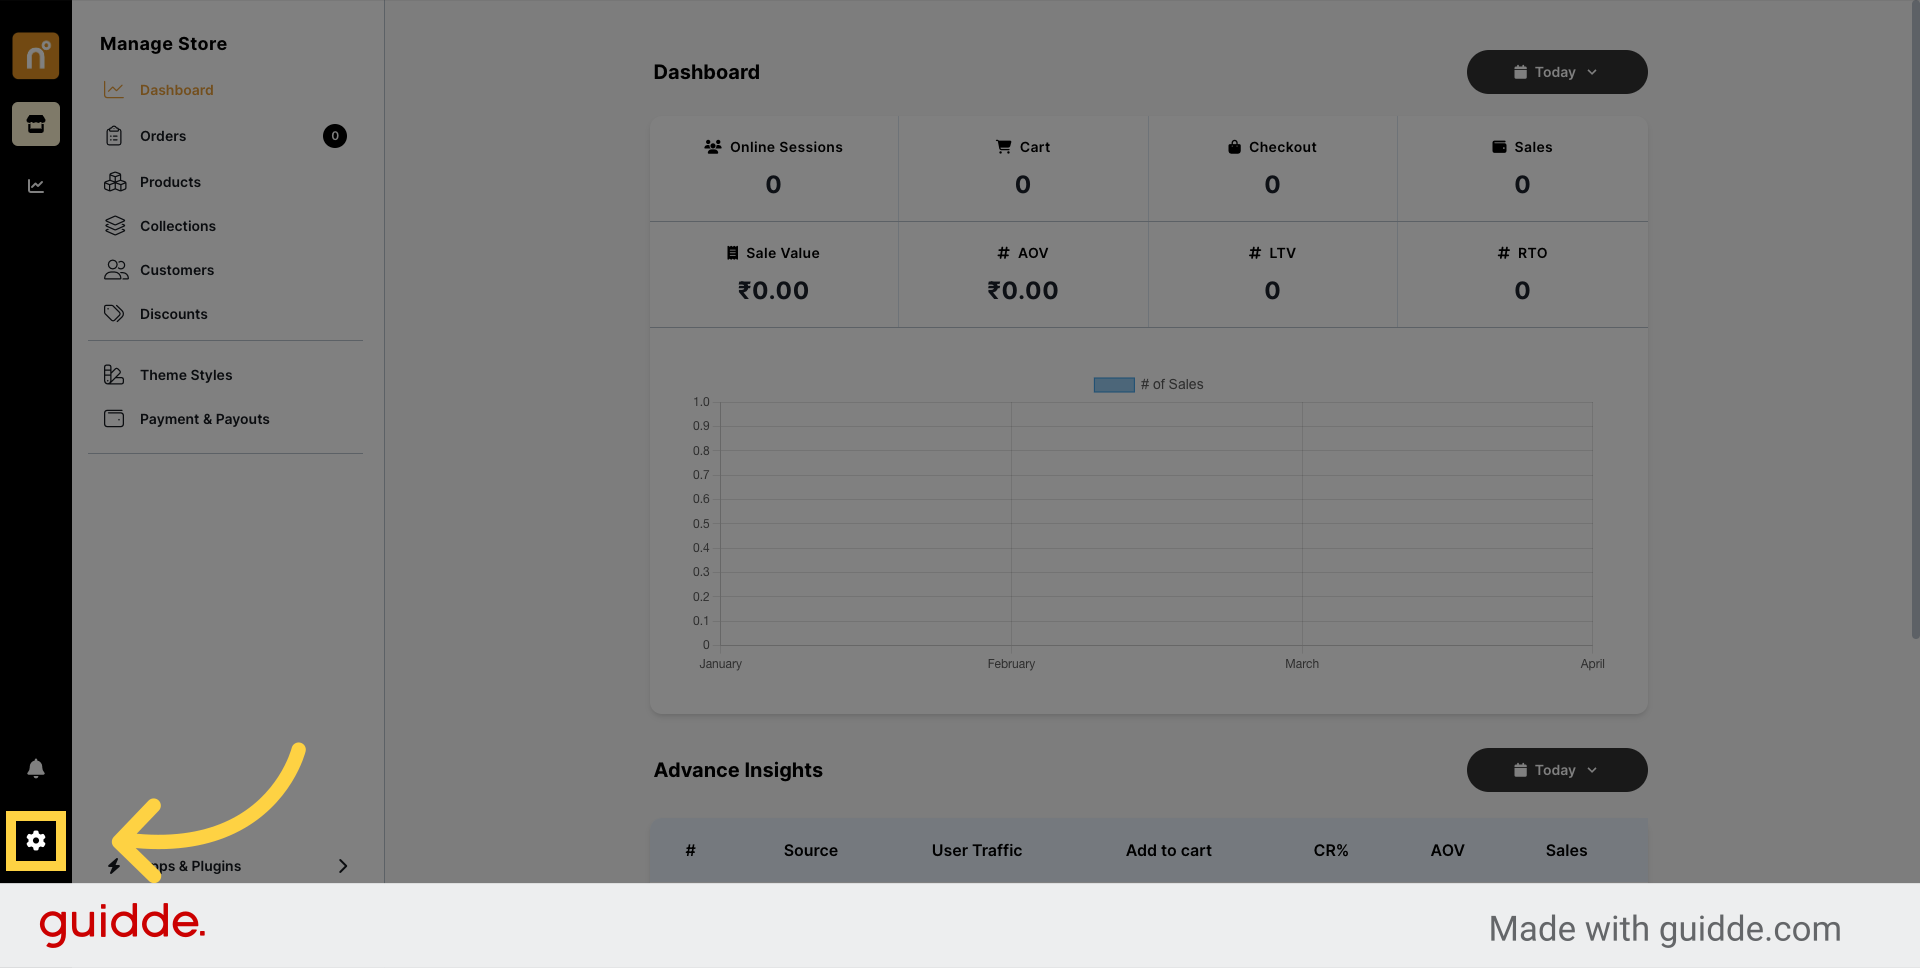
Navigate to the "Settings" section of your NearOnly dashboard.
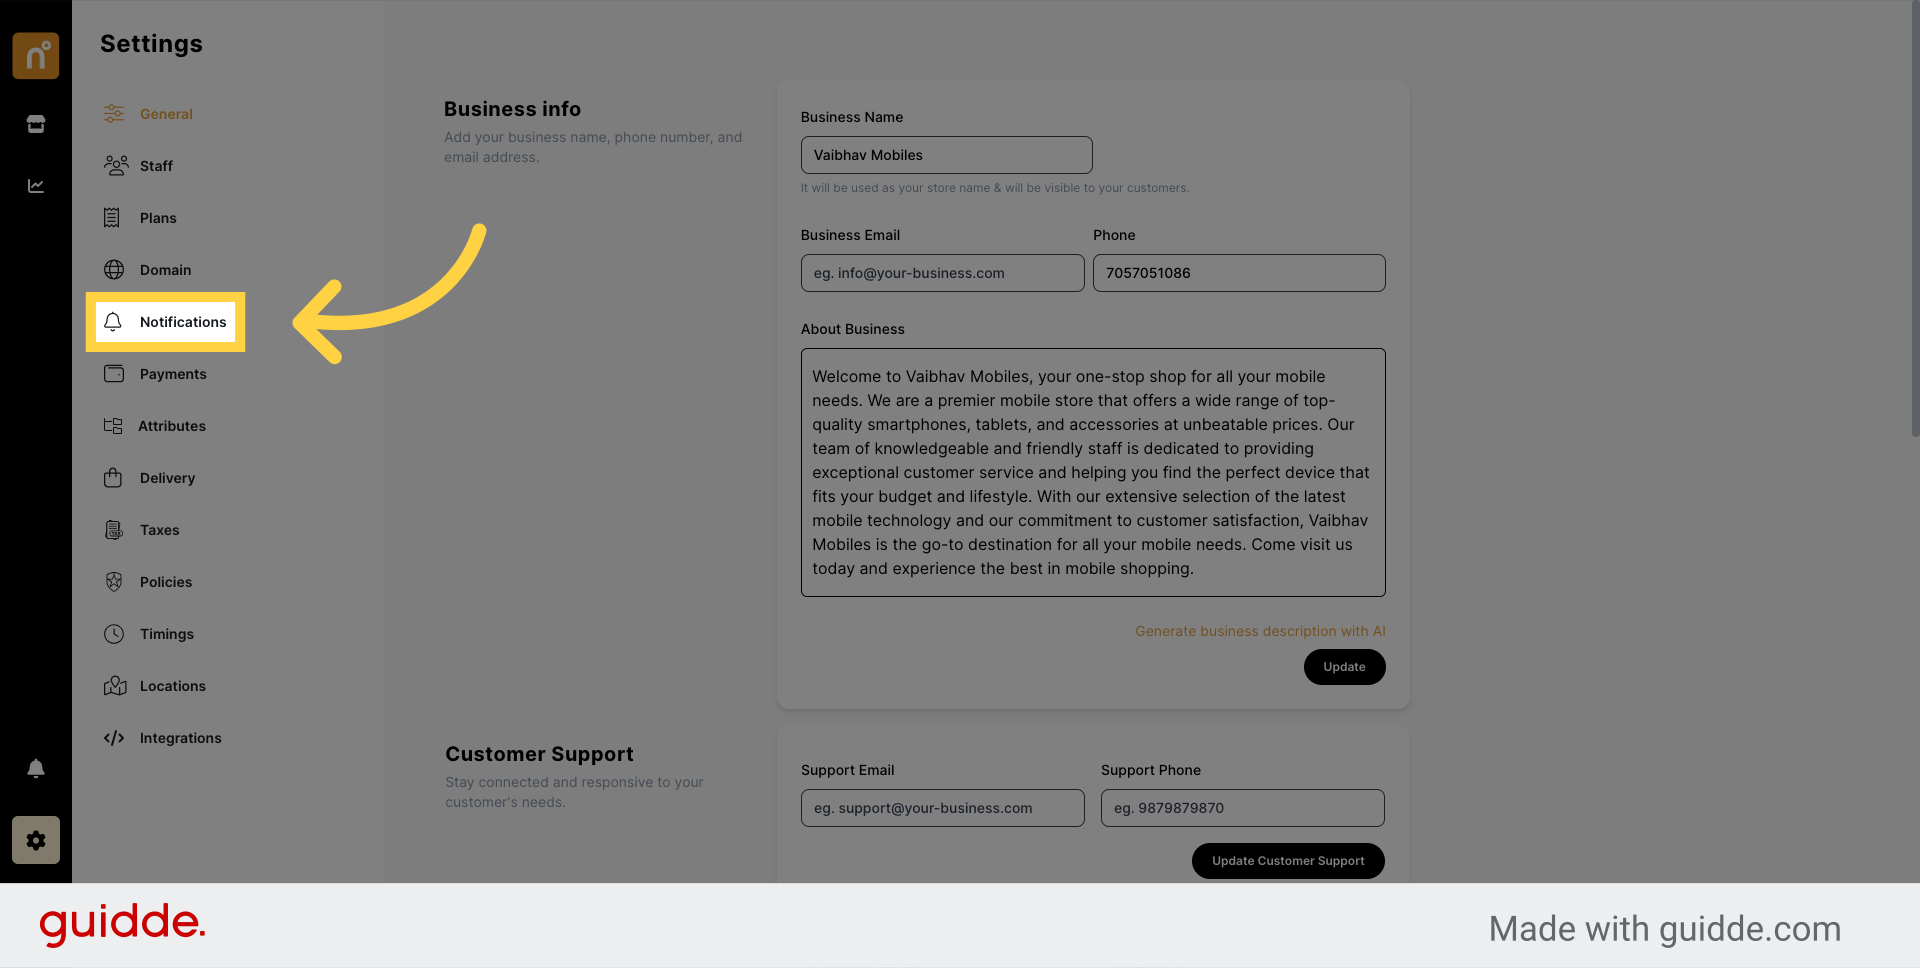
Locate and click on the "Notifications" option within the settings menu.
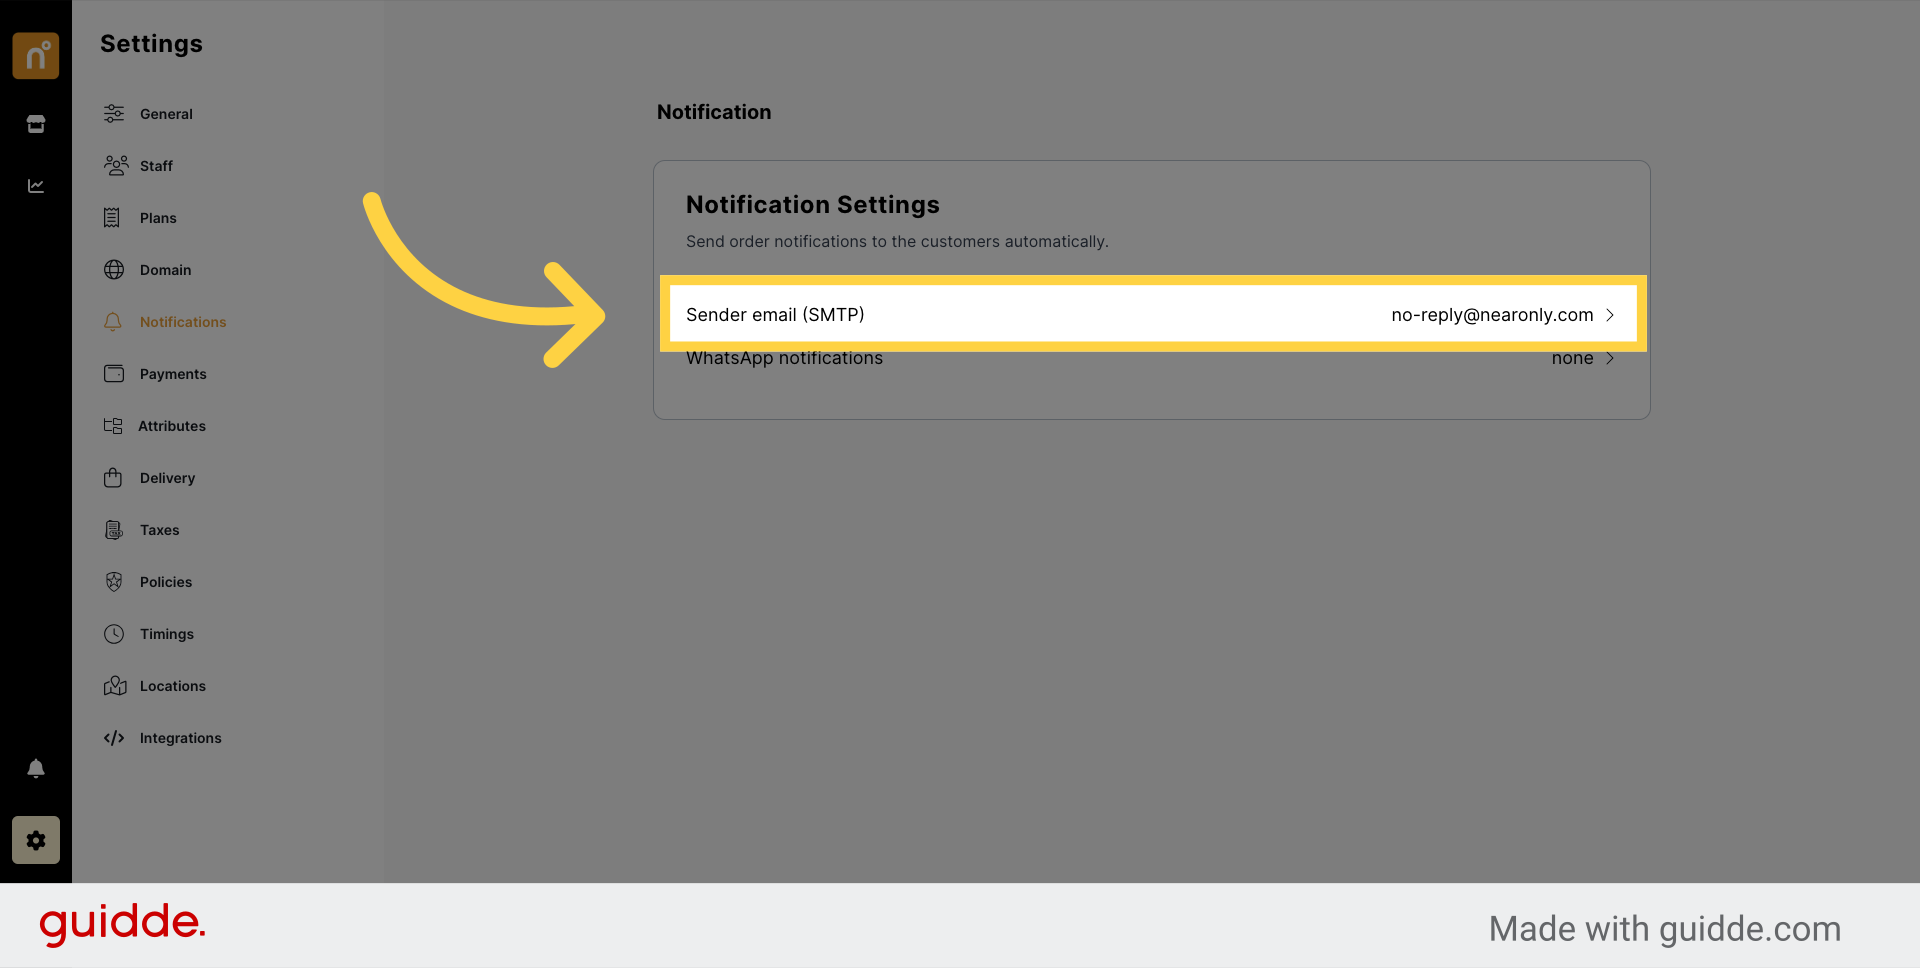
Within the notifications settings, find the "Sender email (SMTP)" option and click on it to configure email settings.
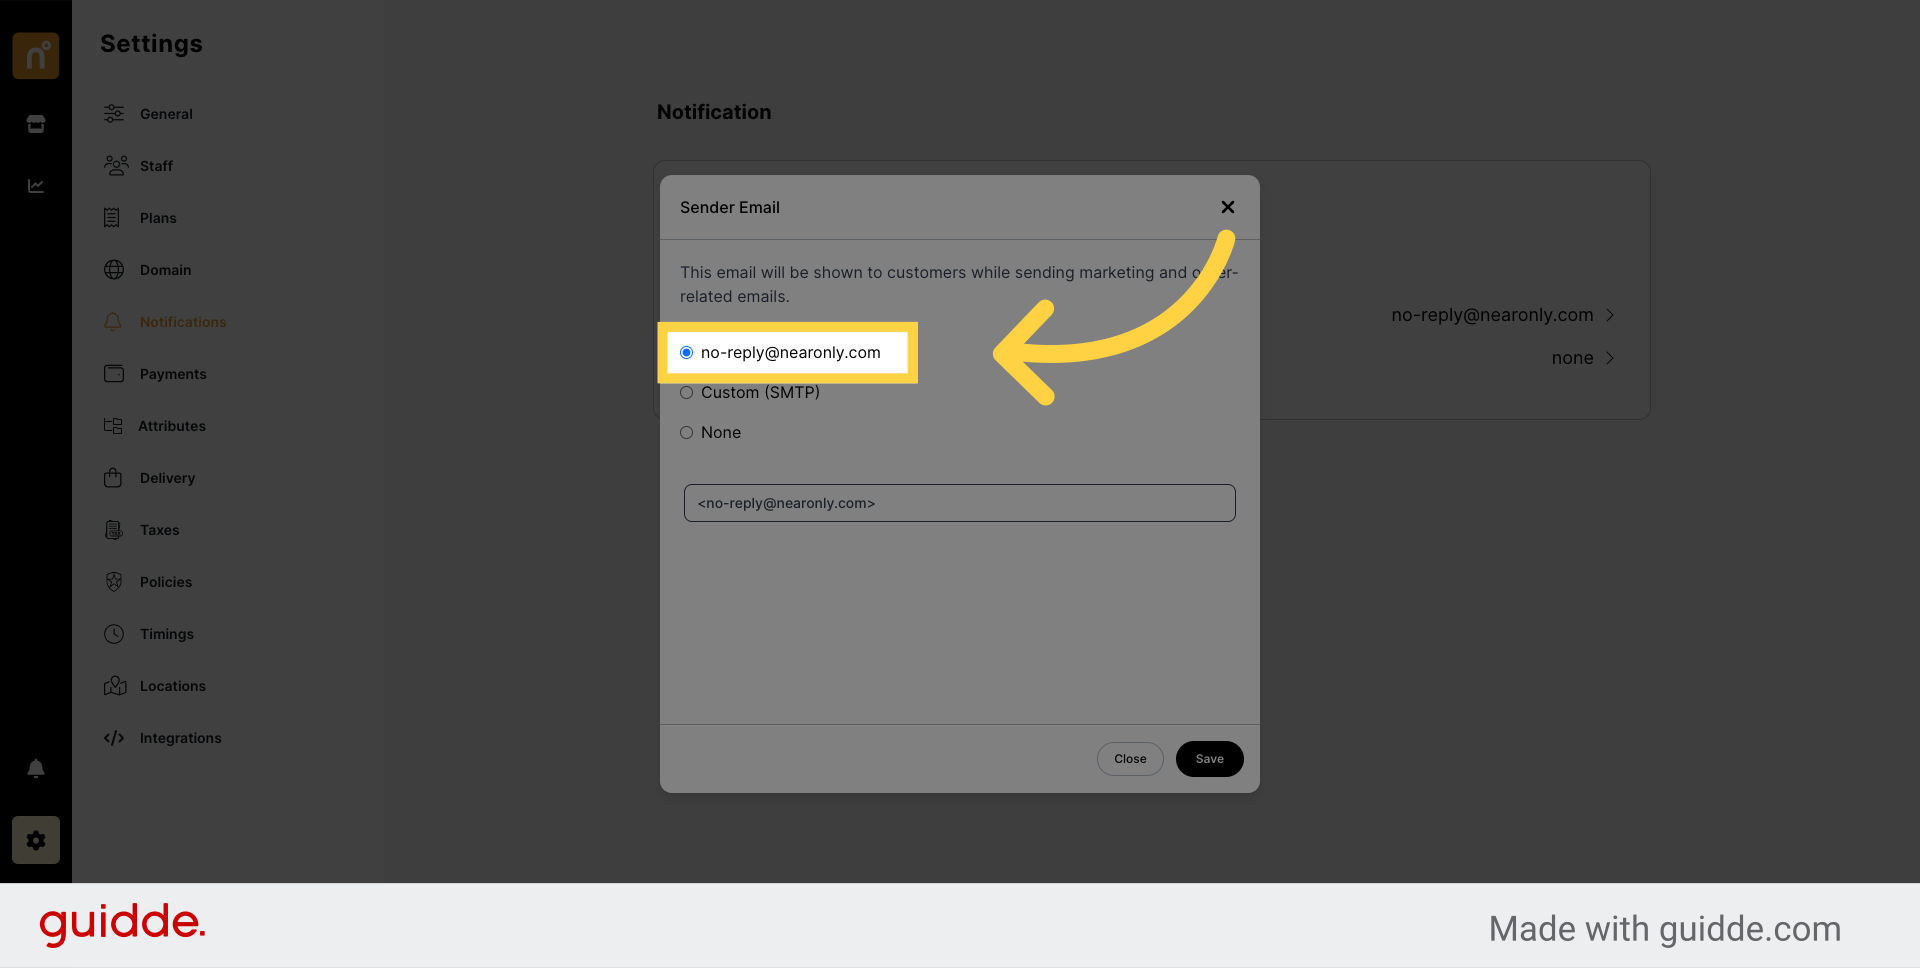
A pop-up window will appear, presenting three options for Email notifications.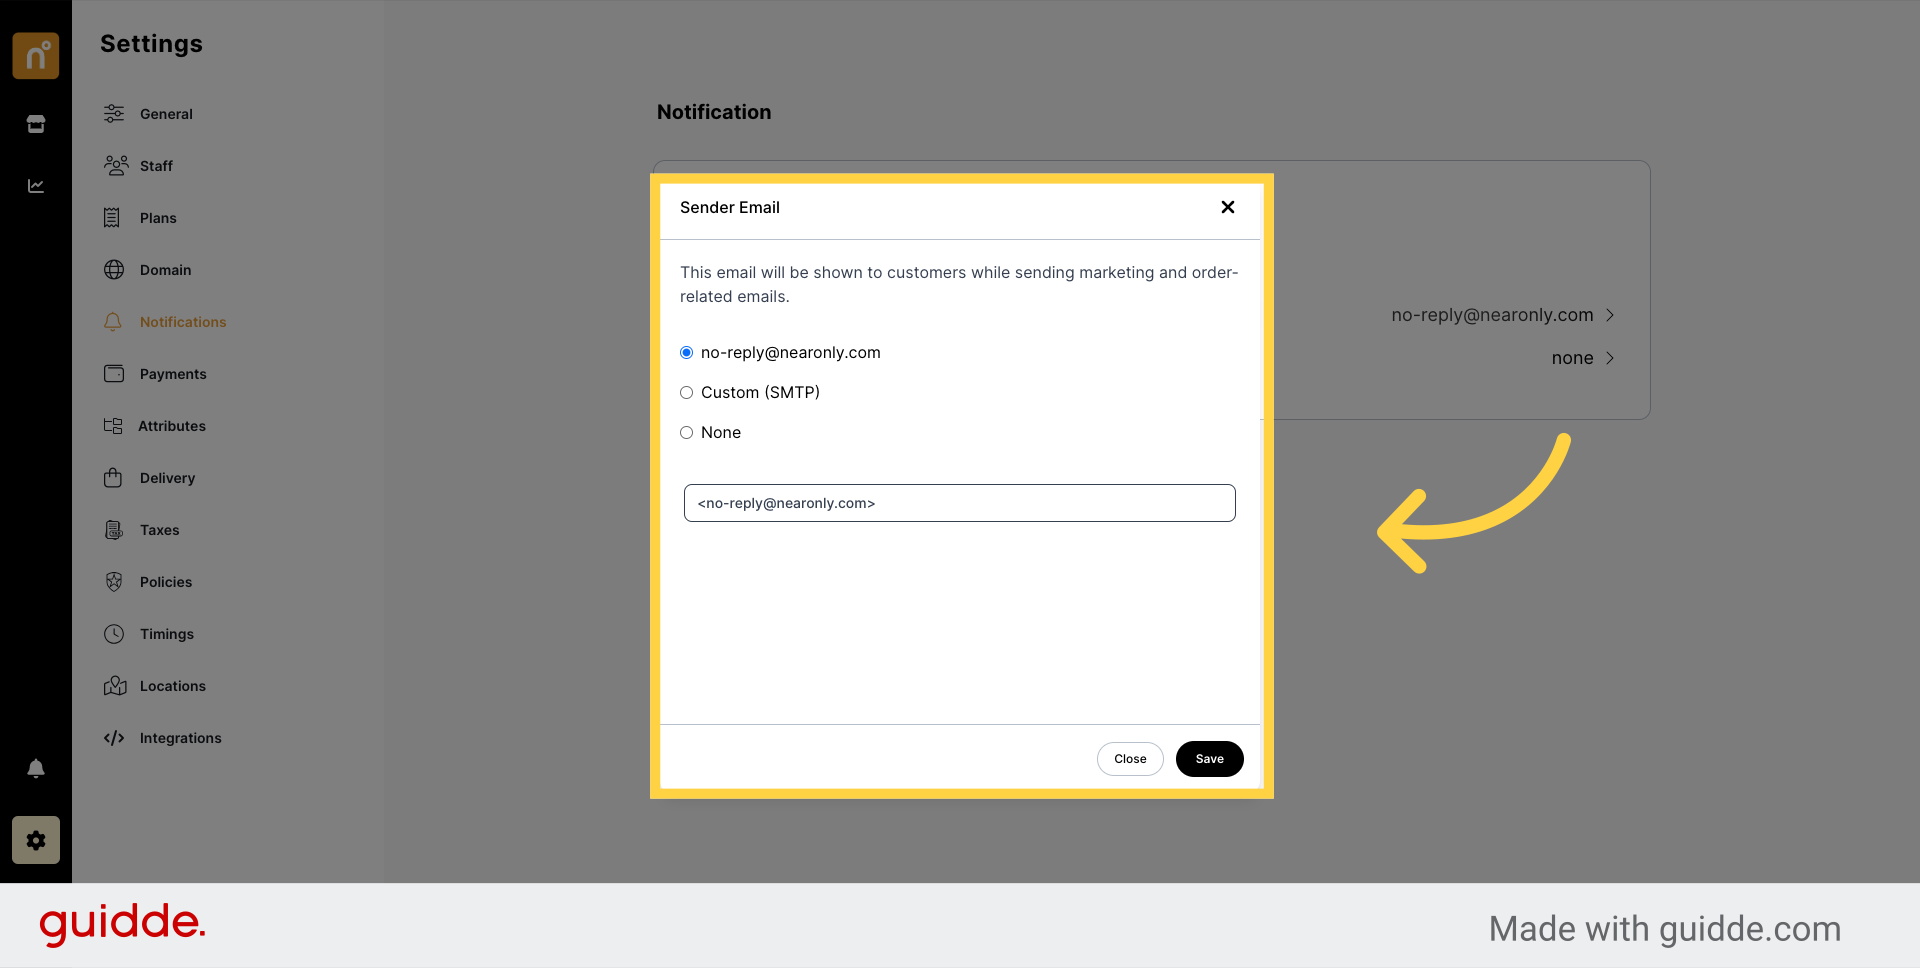
The first option is the default setting, where all email notifications are sent from NearOnly's email address.
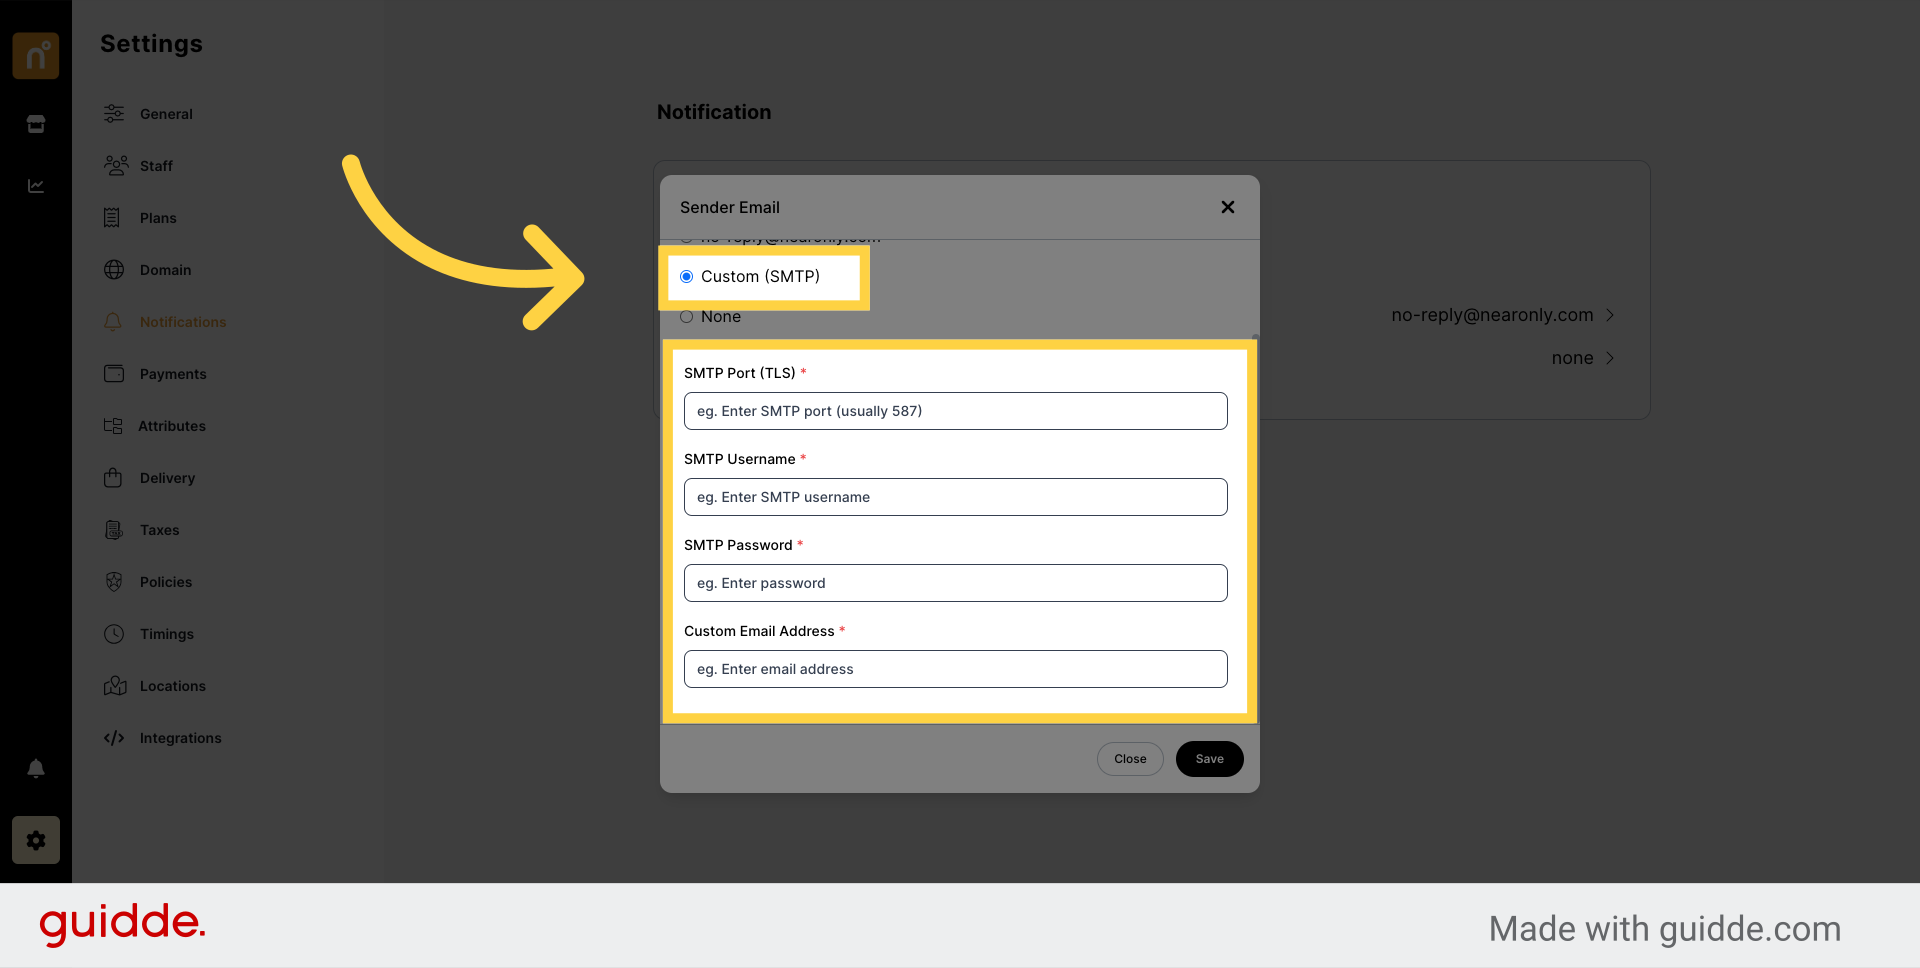
The second option is "Custom SMTP," allowing you to set up your domain email for notifications. Click on this option to proceed with custom SMTP configuration.
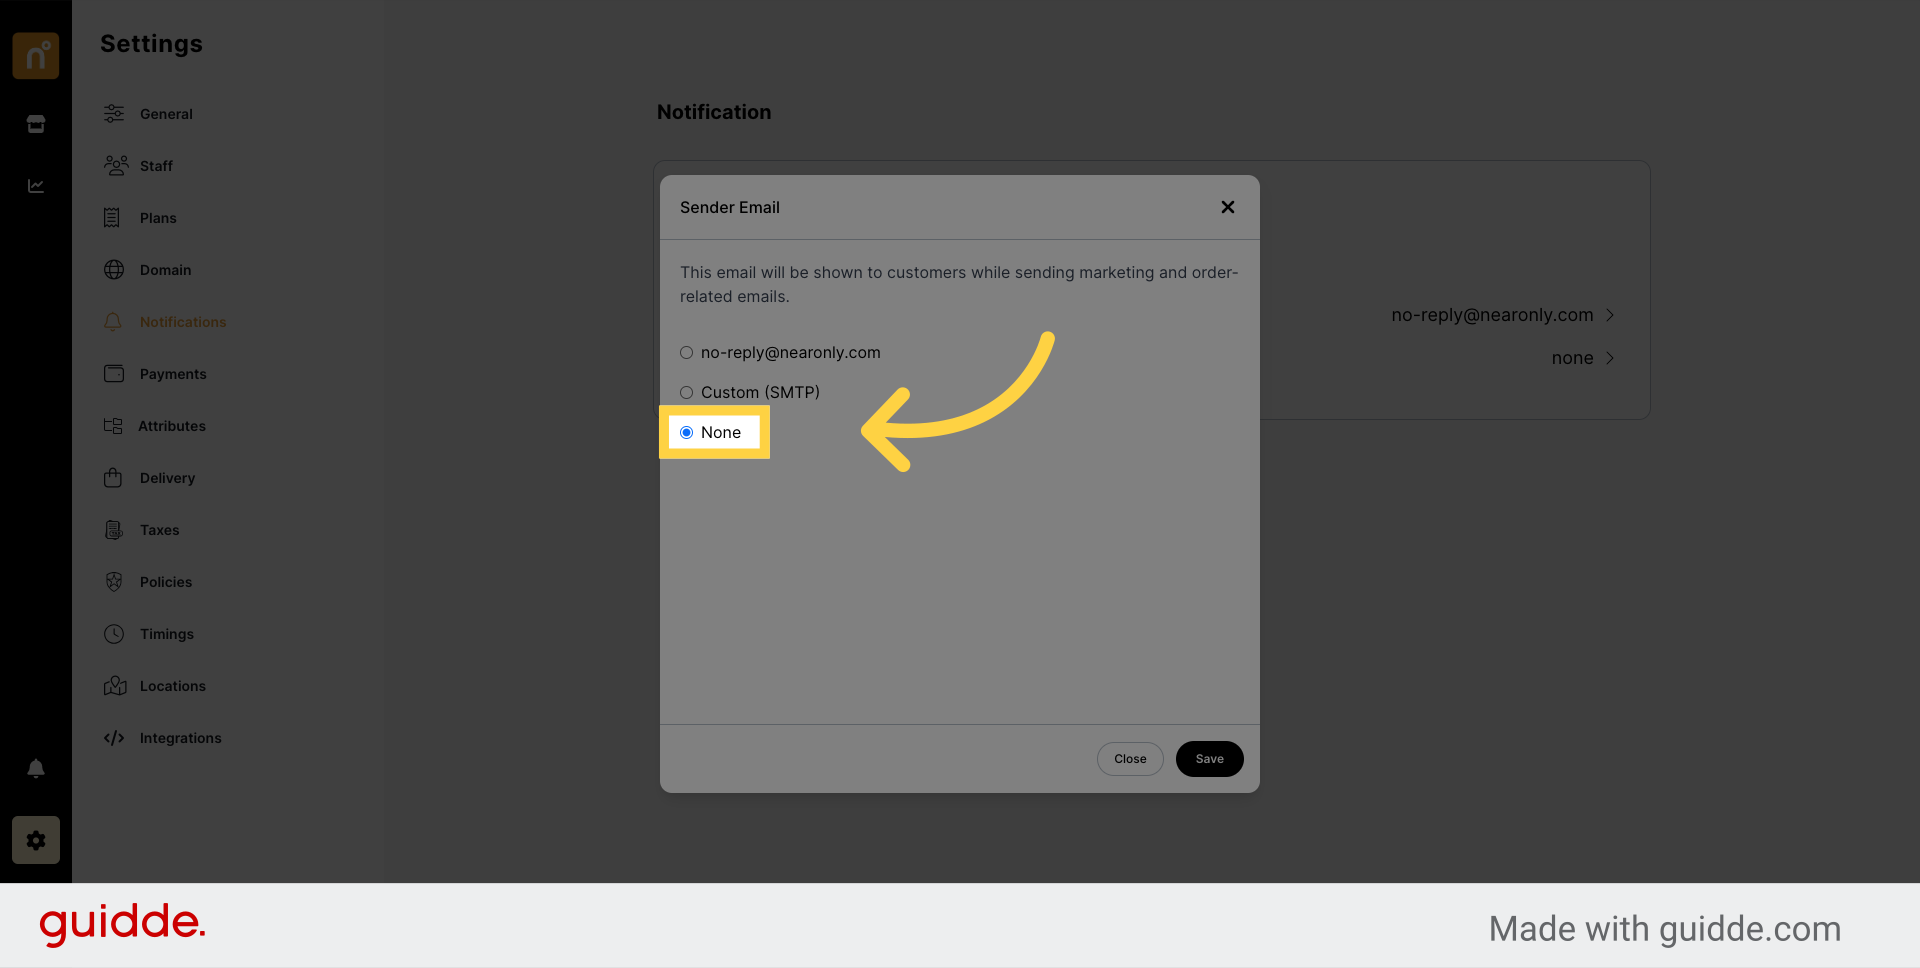
The third option is "None," which disables email notifications entirely. Select this option if you prefer not to receive email notifications.
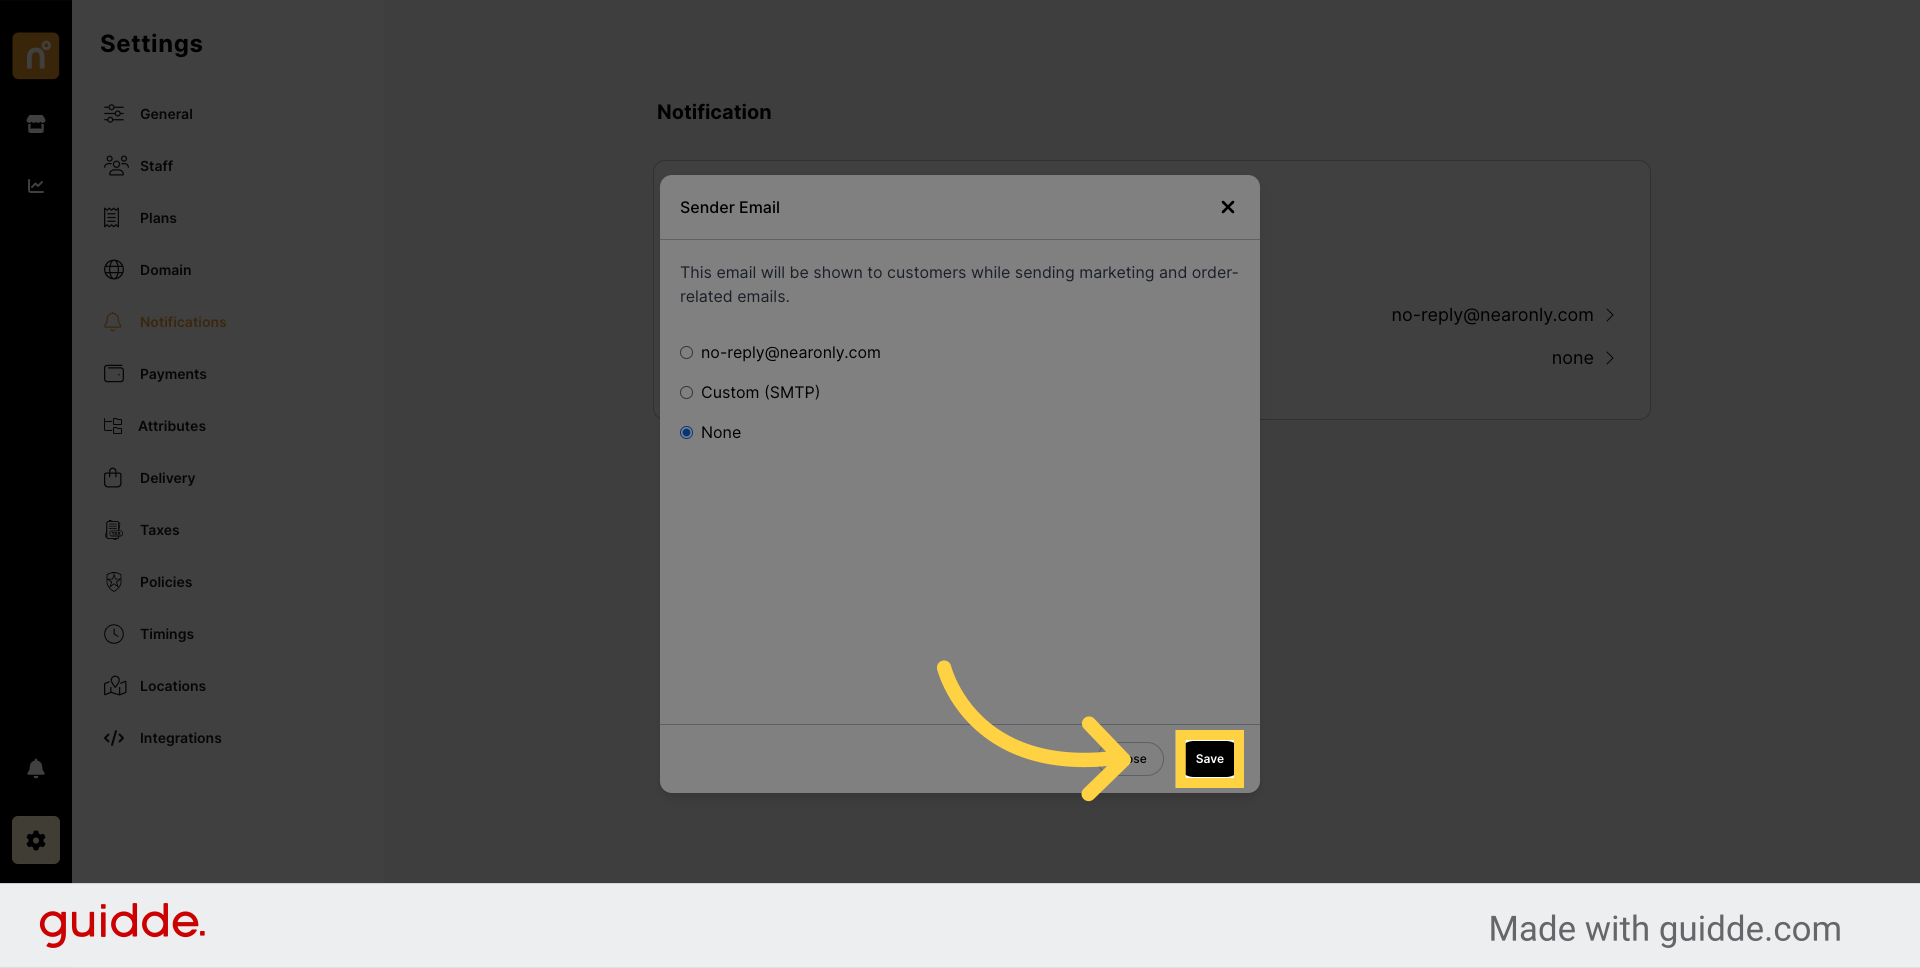
Once you've selected your preferred email notification setting, save your changes to apply the configuration.
By following these steps, you can easily configure Email notifications in NearOnly according to your preferences.
Still need help?
Contact us