Explore how to efficiently create collections in NearOnly to optimize your product organization and management. This guide will walk you through the steps required to set up and customize collections tailored to your business needs.
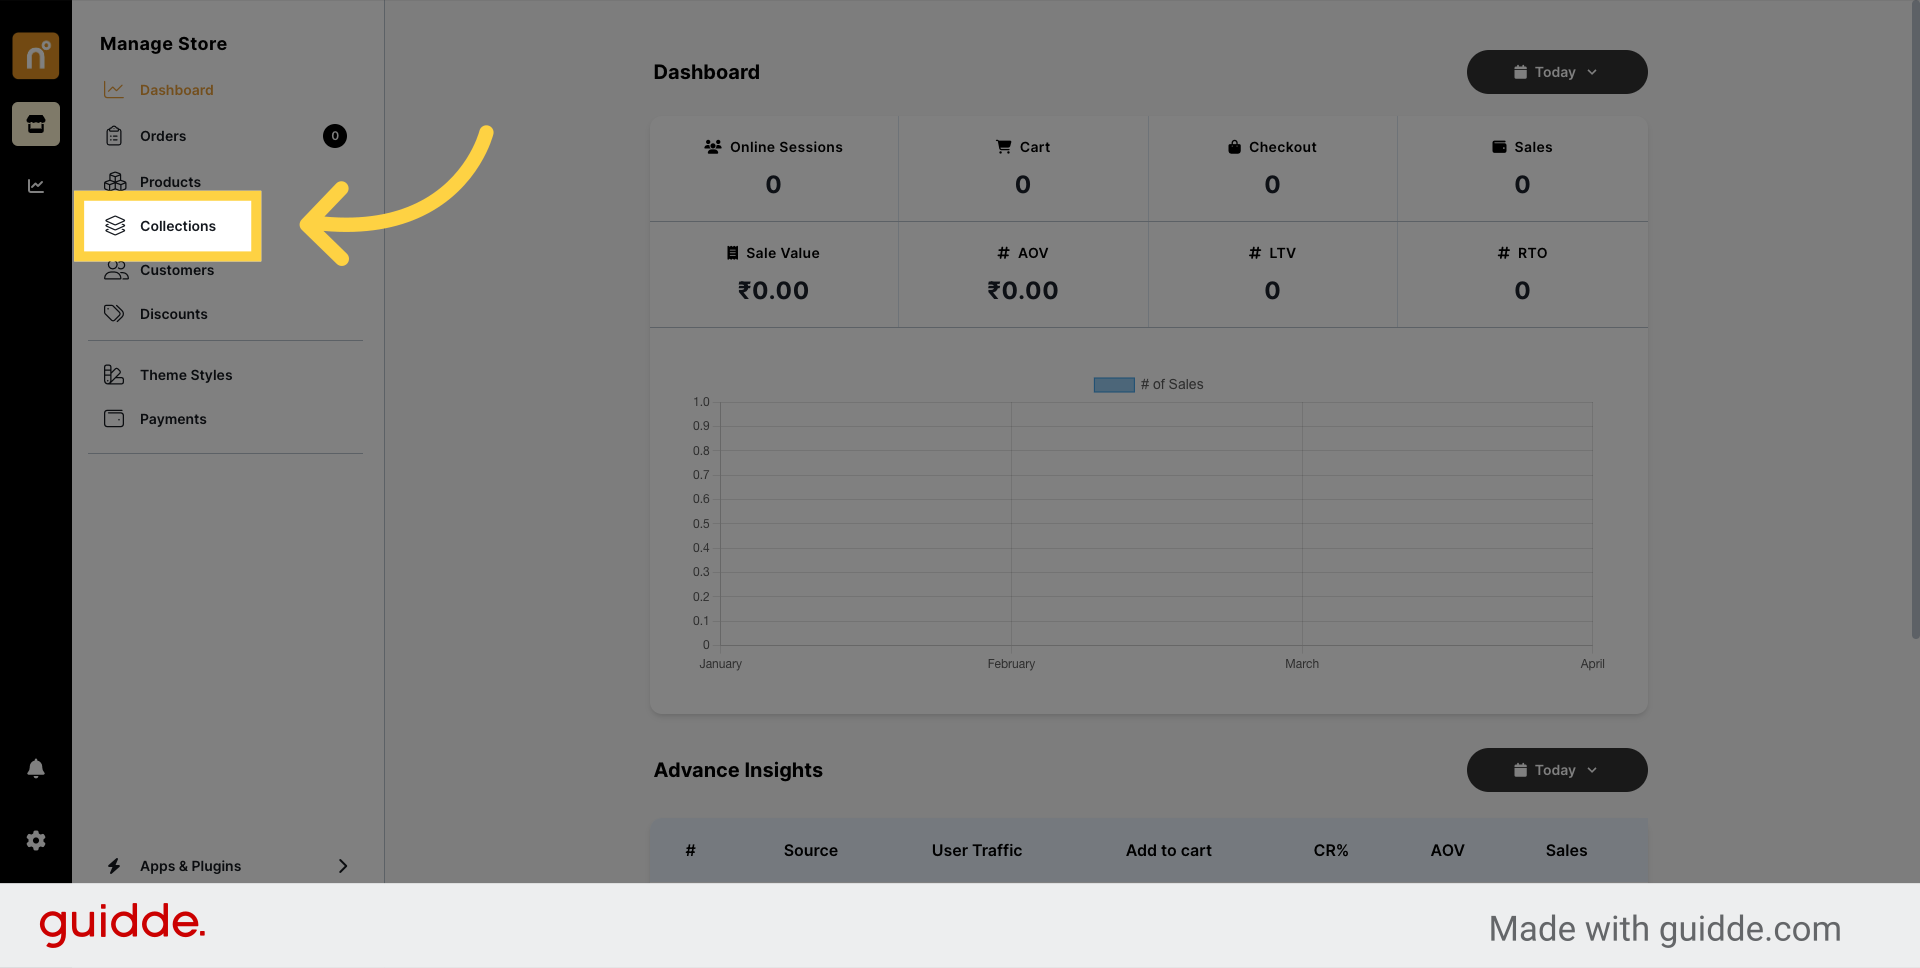
Navigate to the Dashboard and click on the "Collections" button.
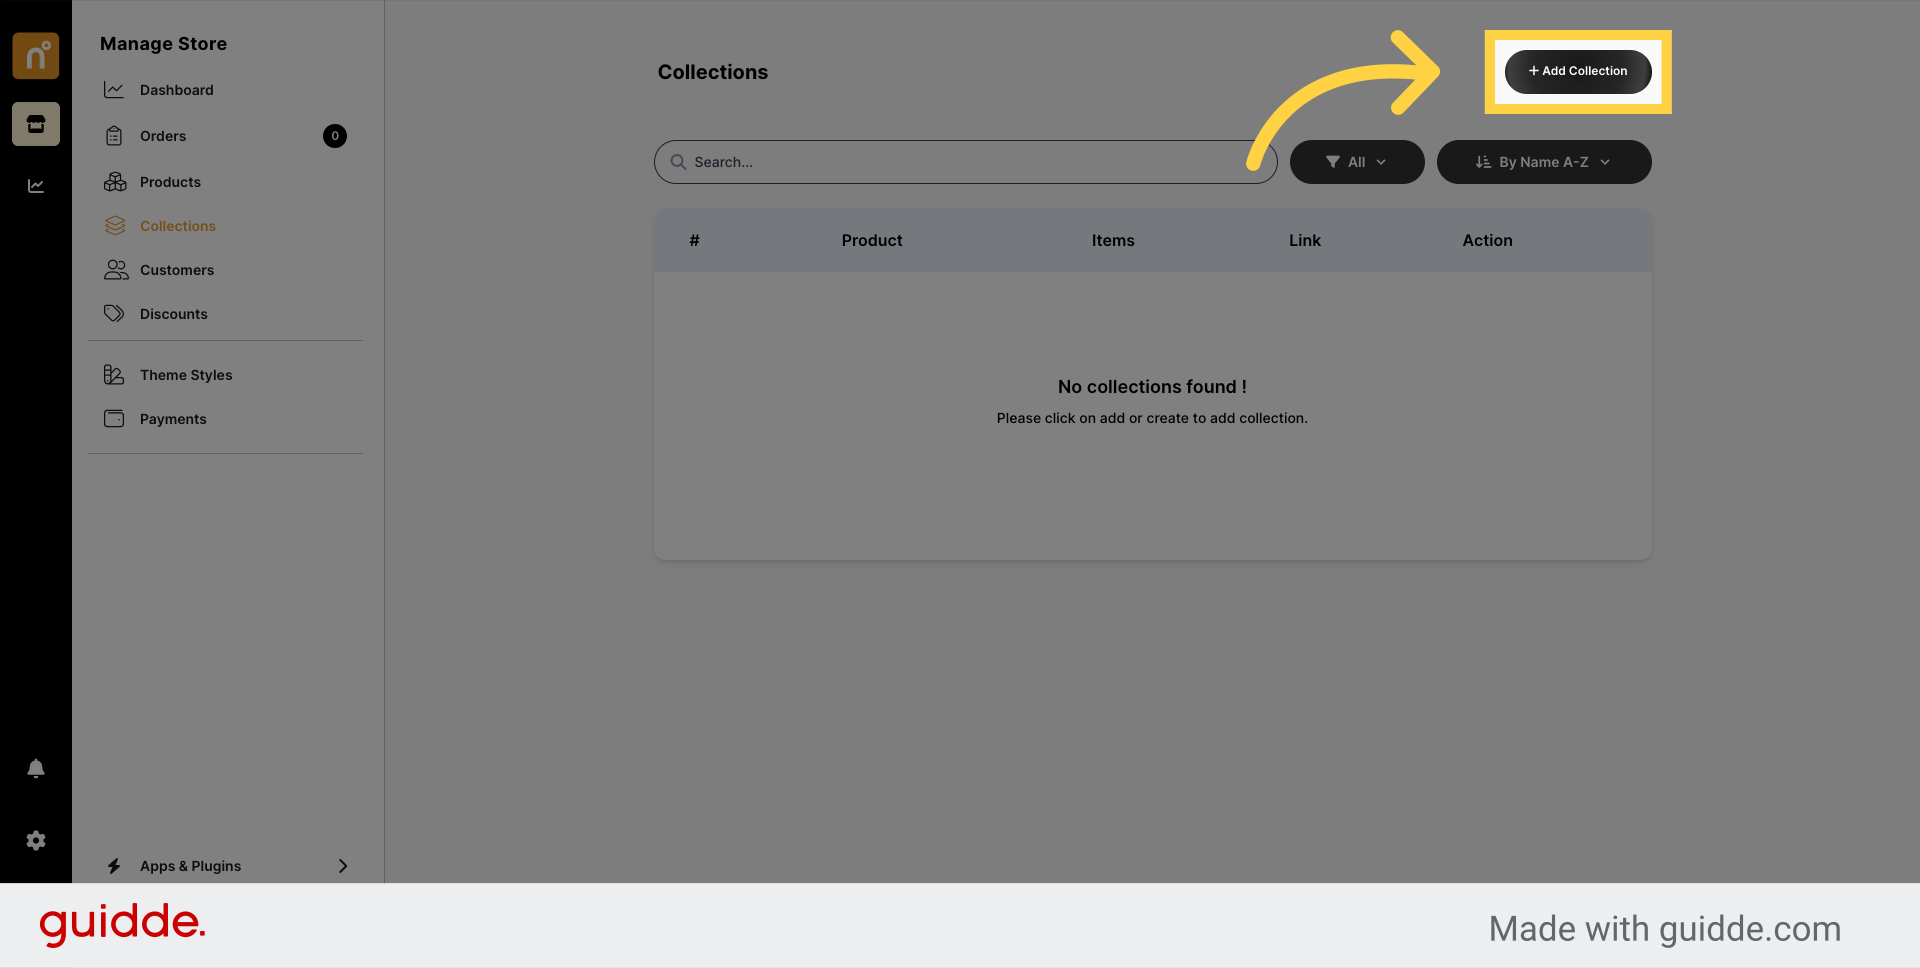
On the Collections page, click on the "Add Collection" button to start creating a new collection.
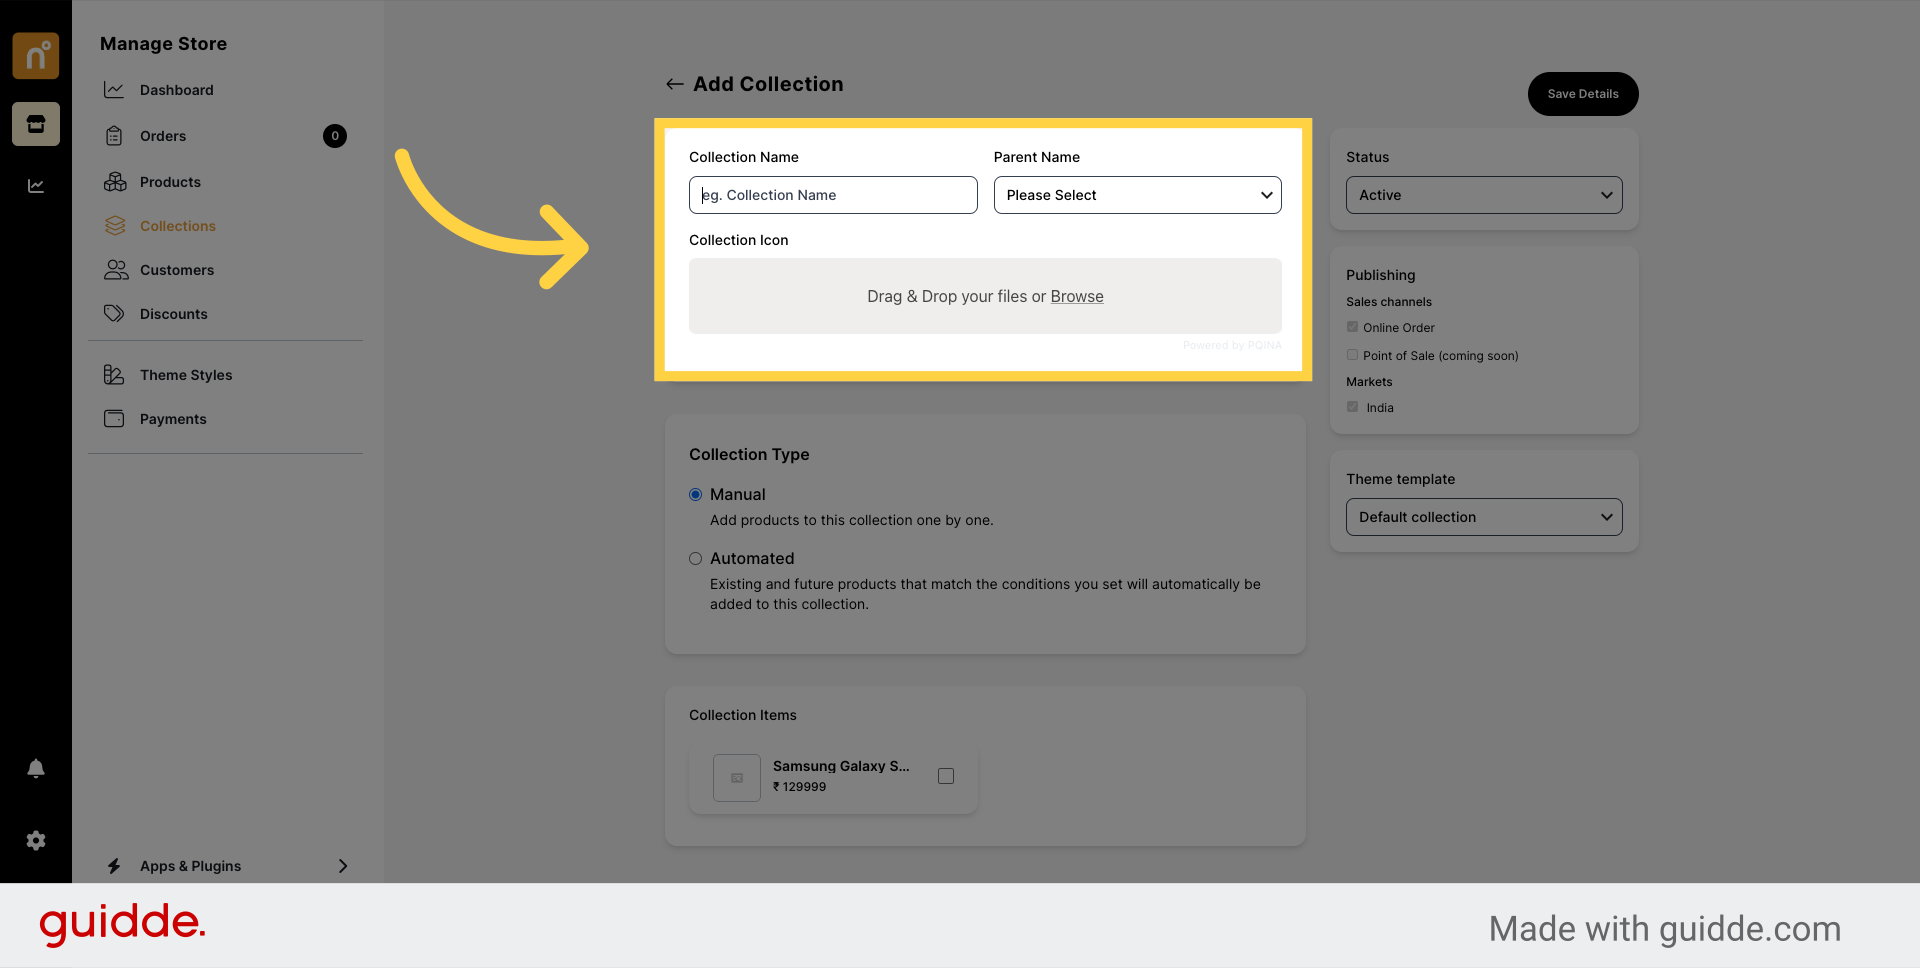
You'll be directed to the Add Collection page, where you'll find the first section for Collection Name, Parent Name, or Collection Icon.
Next, choose the Collection Type. You can opt to add products manually or automatically.
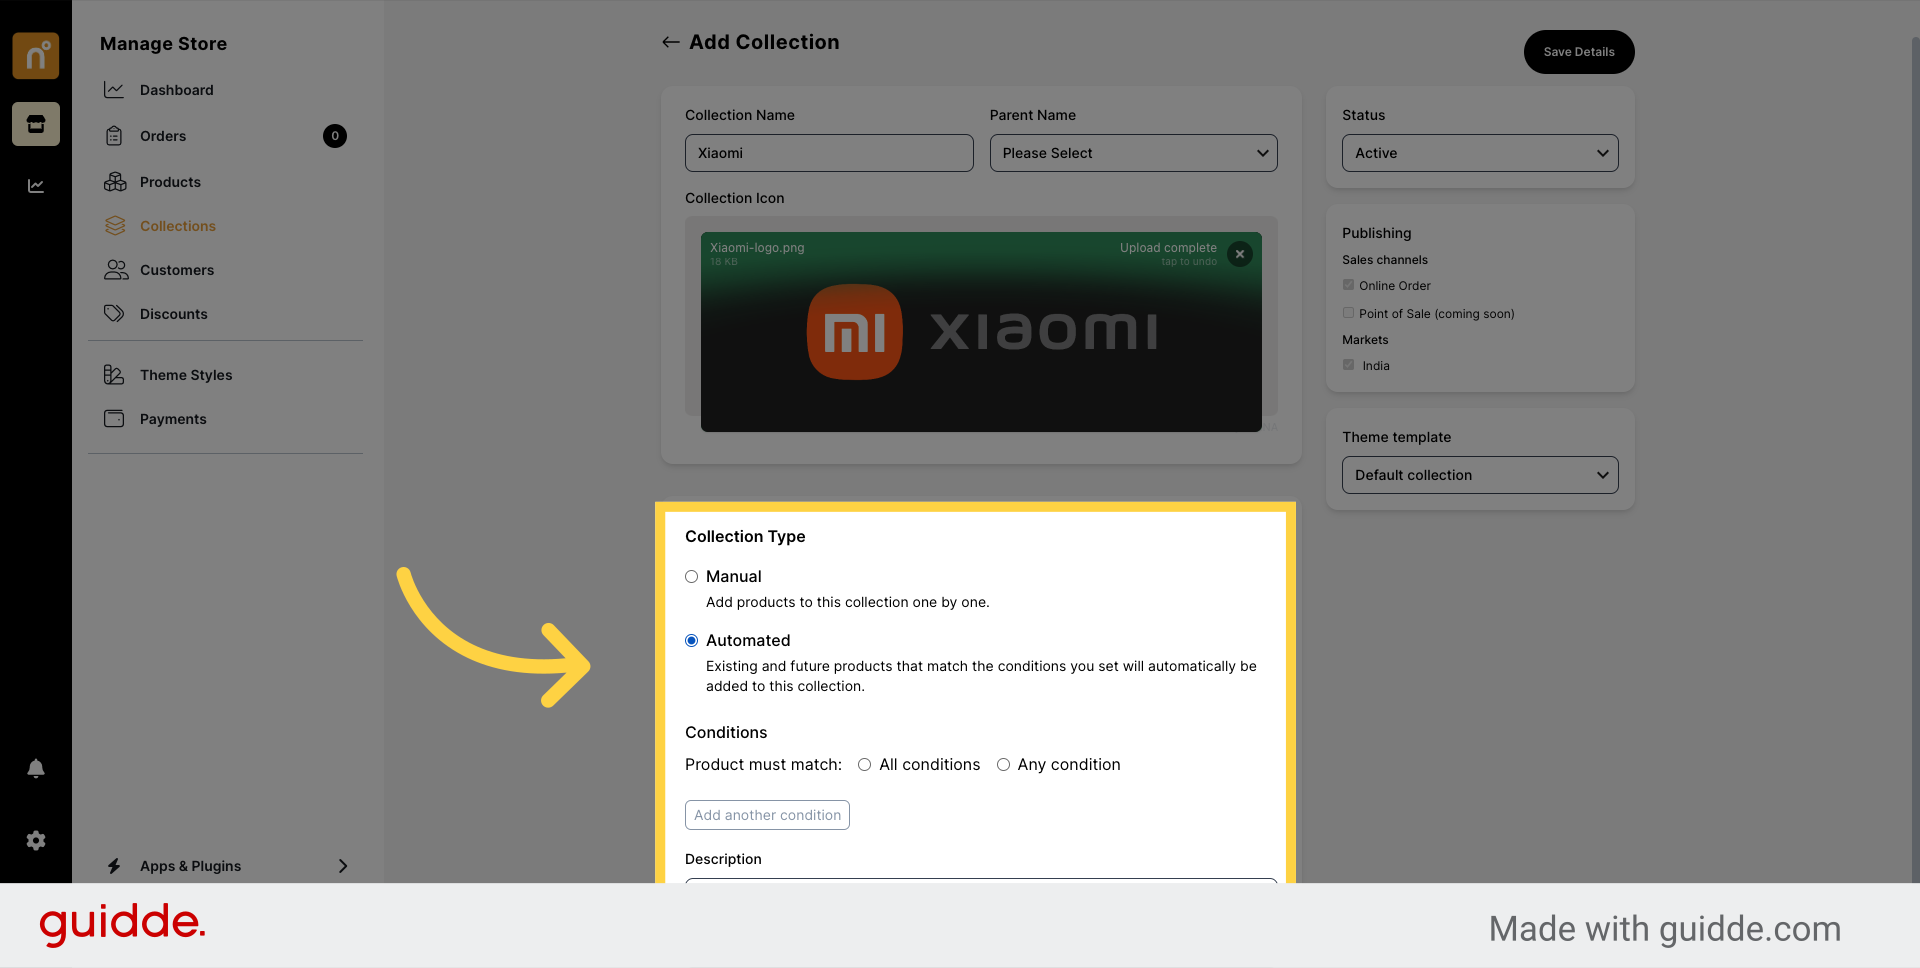
If you select Automated, you'll need to define conditions for products to be included in the collection. Choose between "All Conditions" or "Any Condition" based on your requirements.
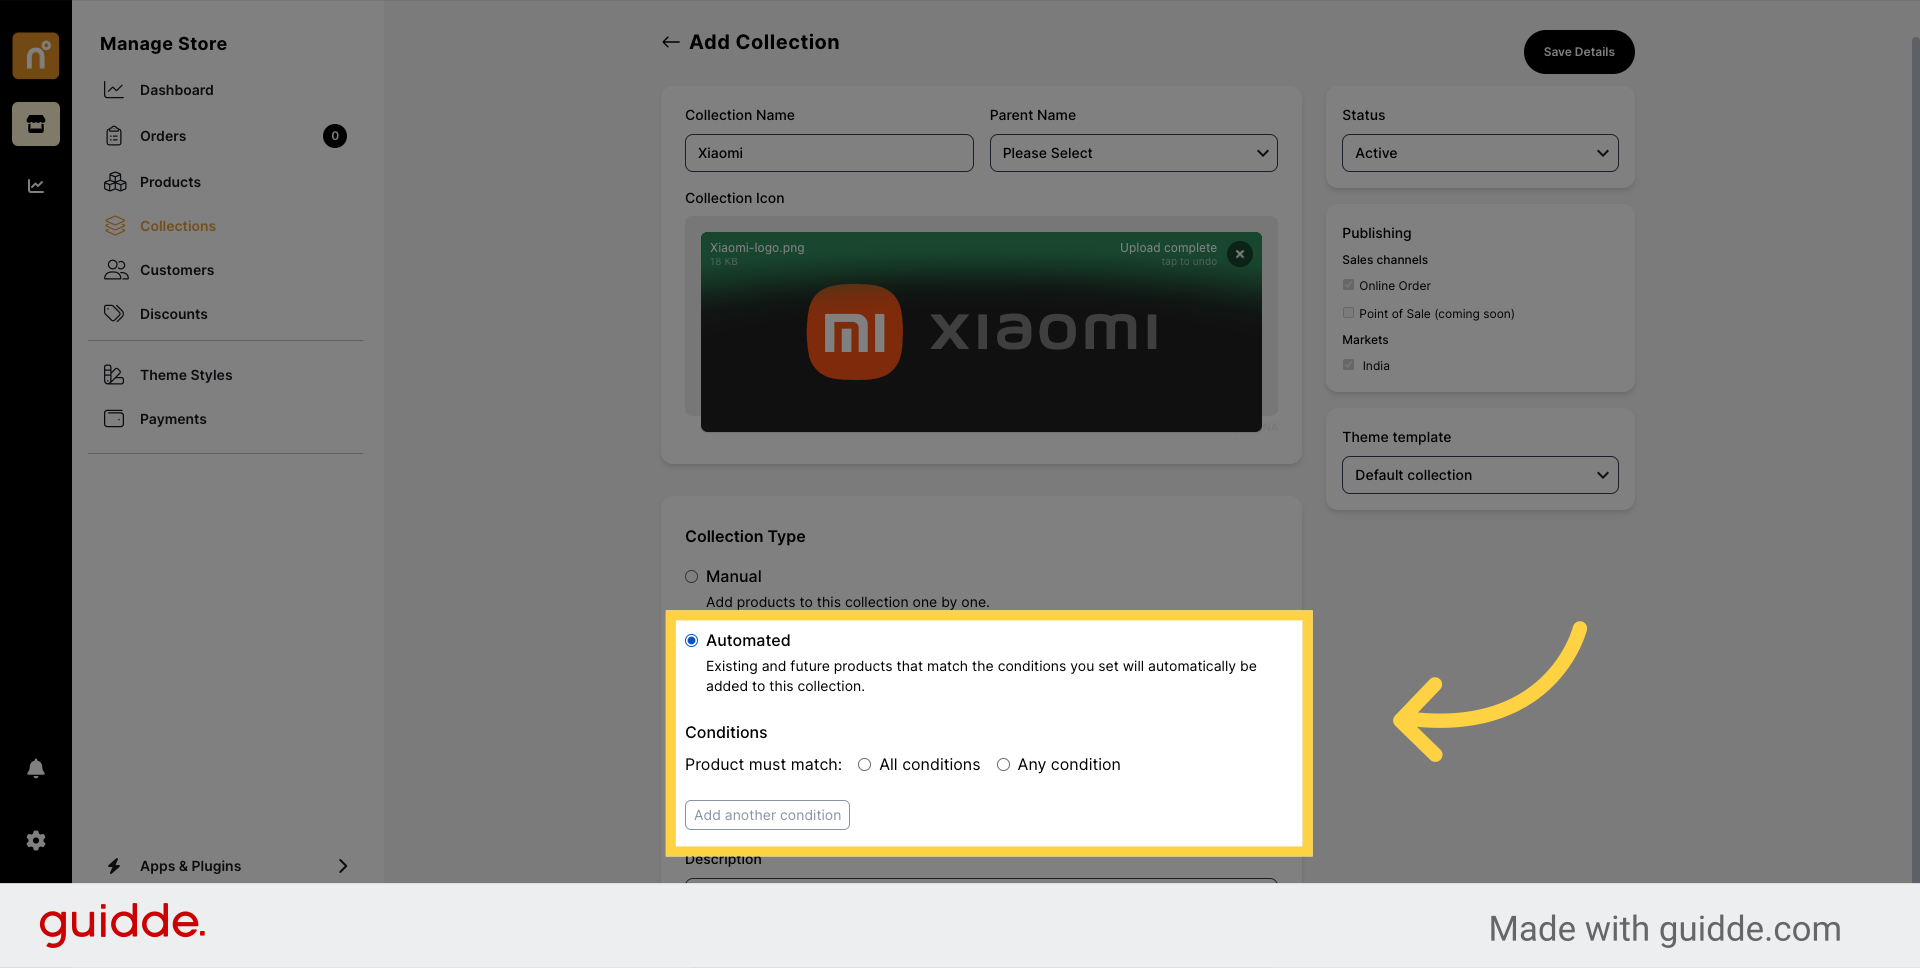
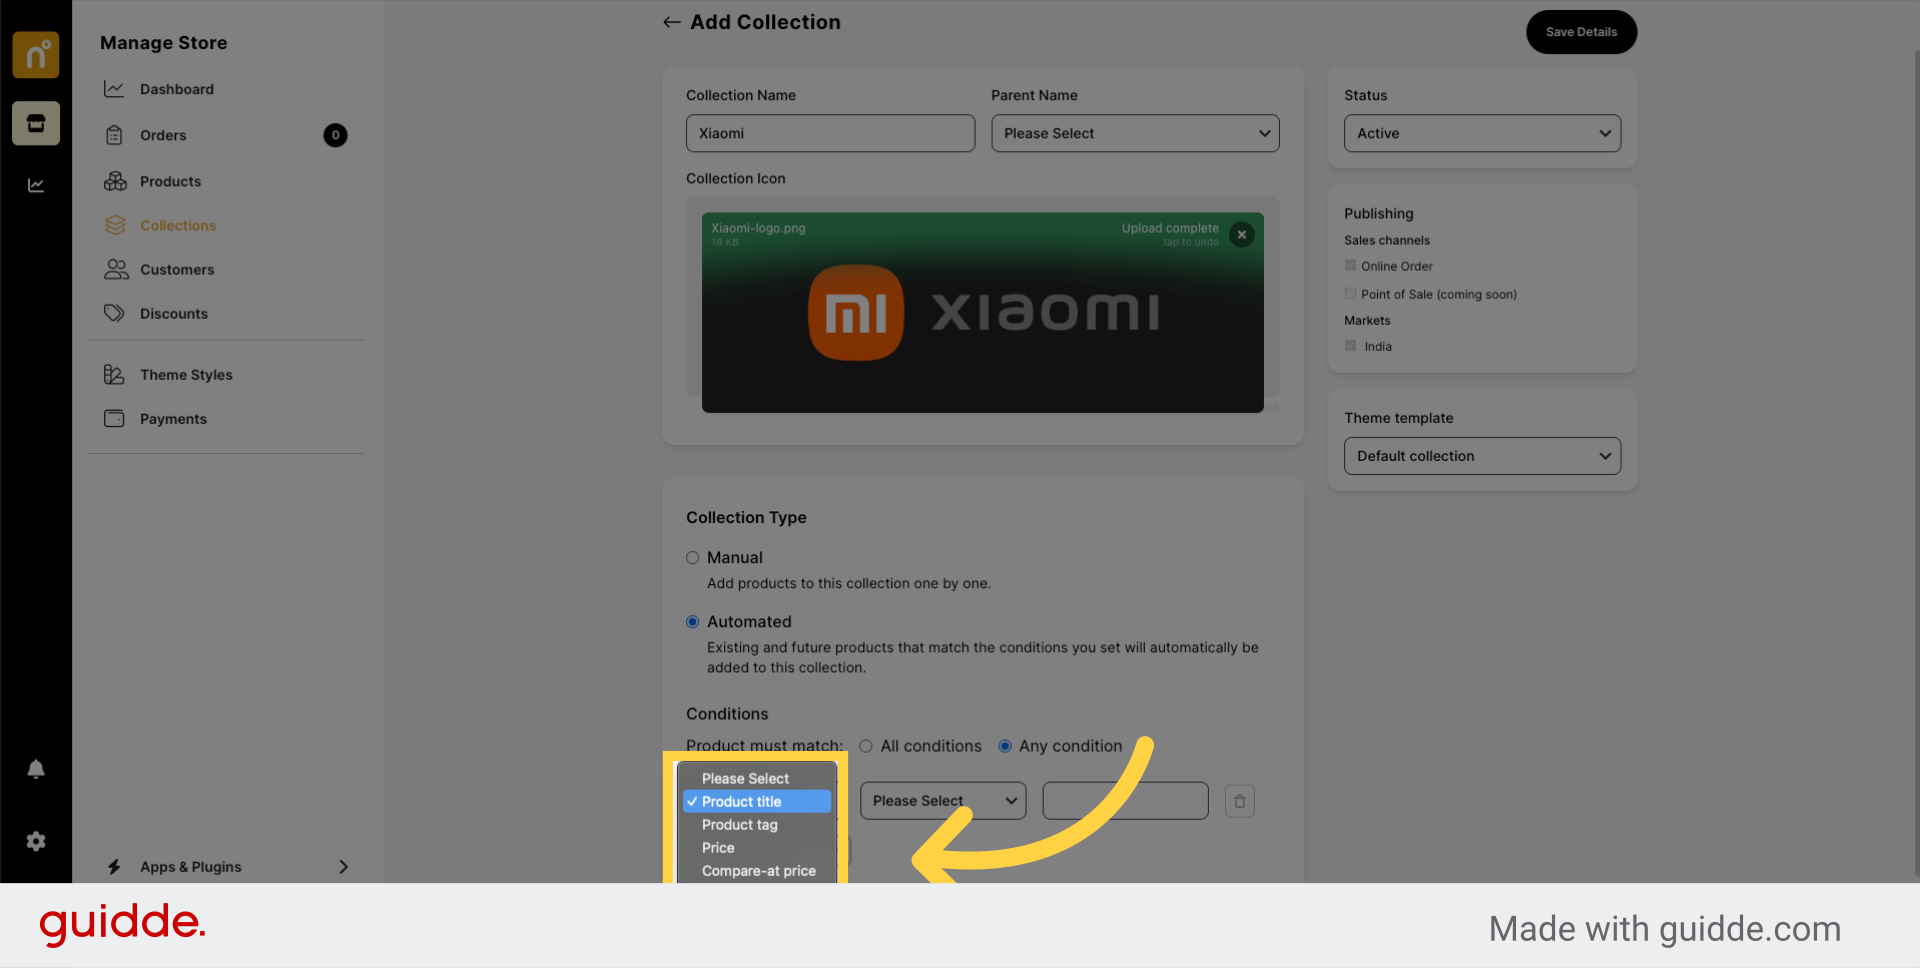
To add conditions, click on "Add Condition" and select criteria such as Product Title to specify the conditions.
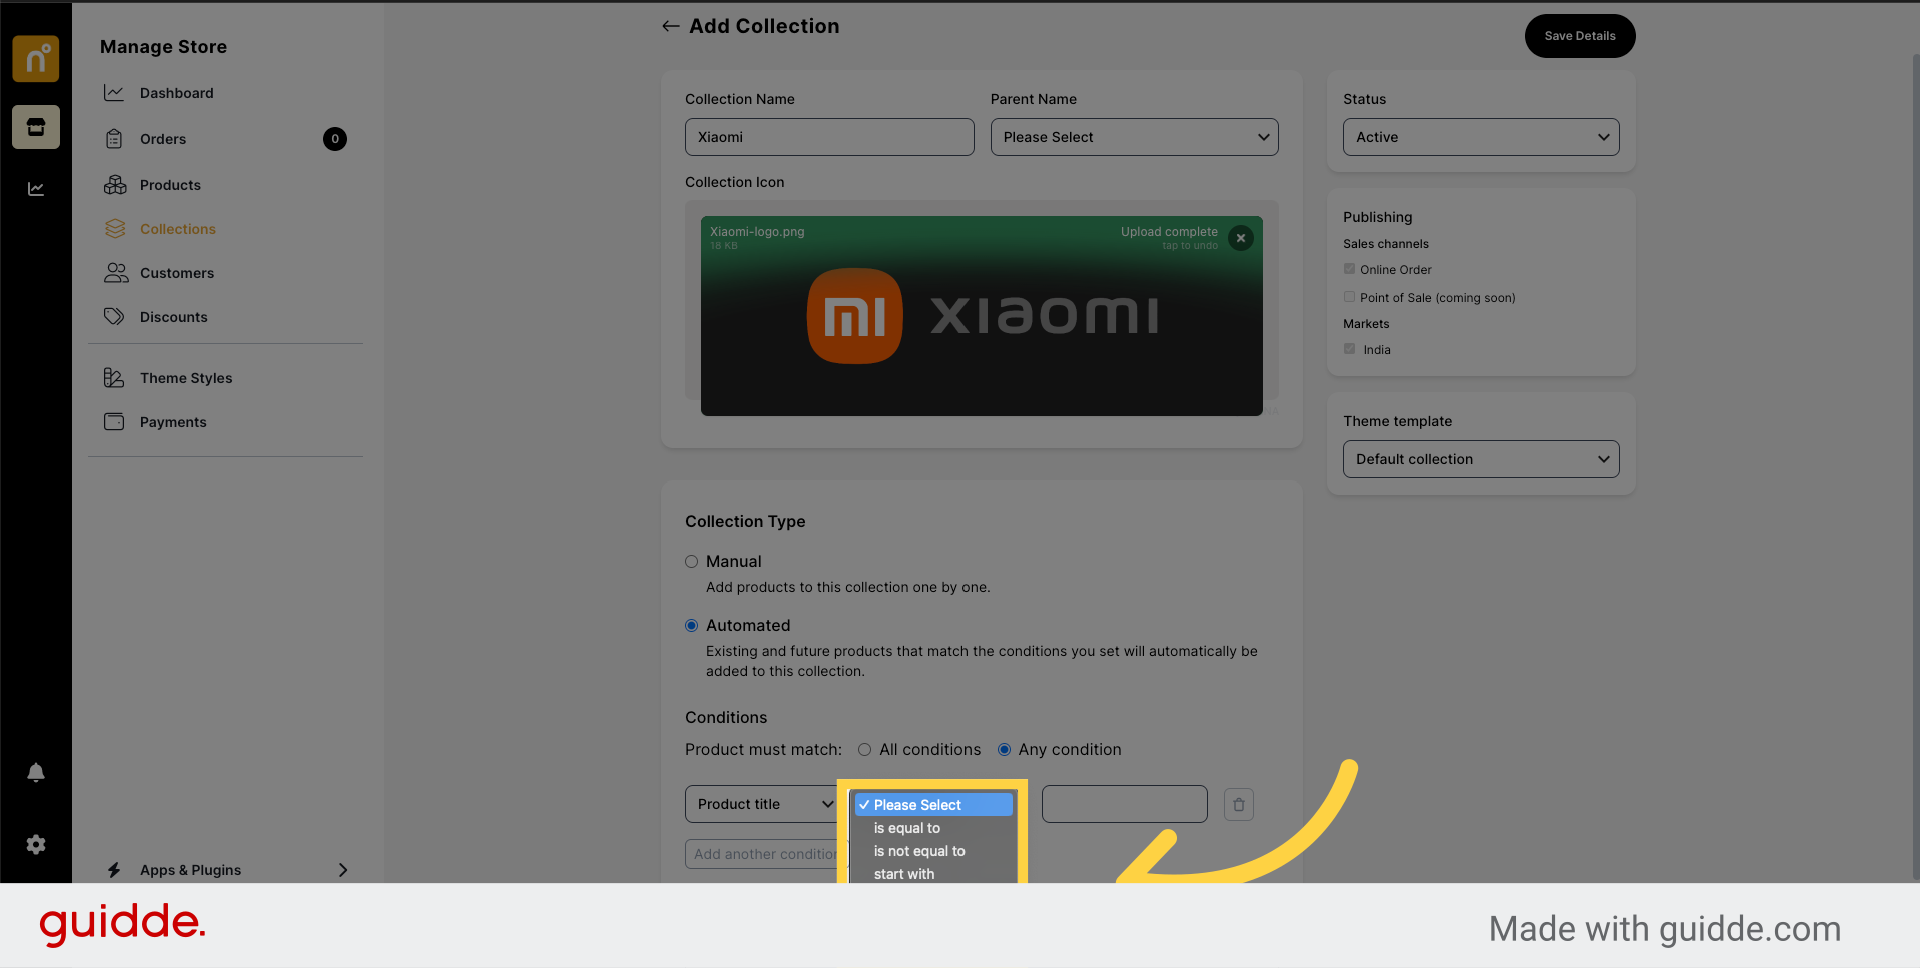
You'll have the option to further refine the condition's parameters as needed.
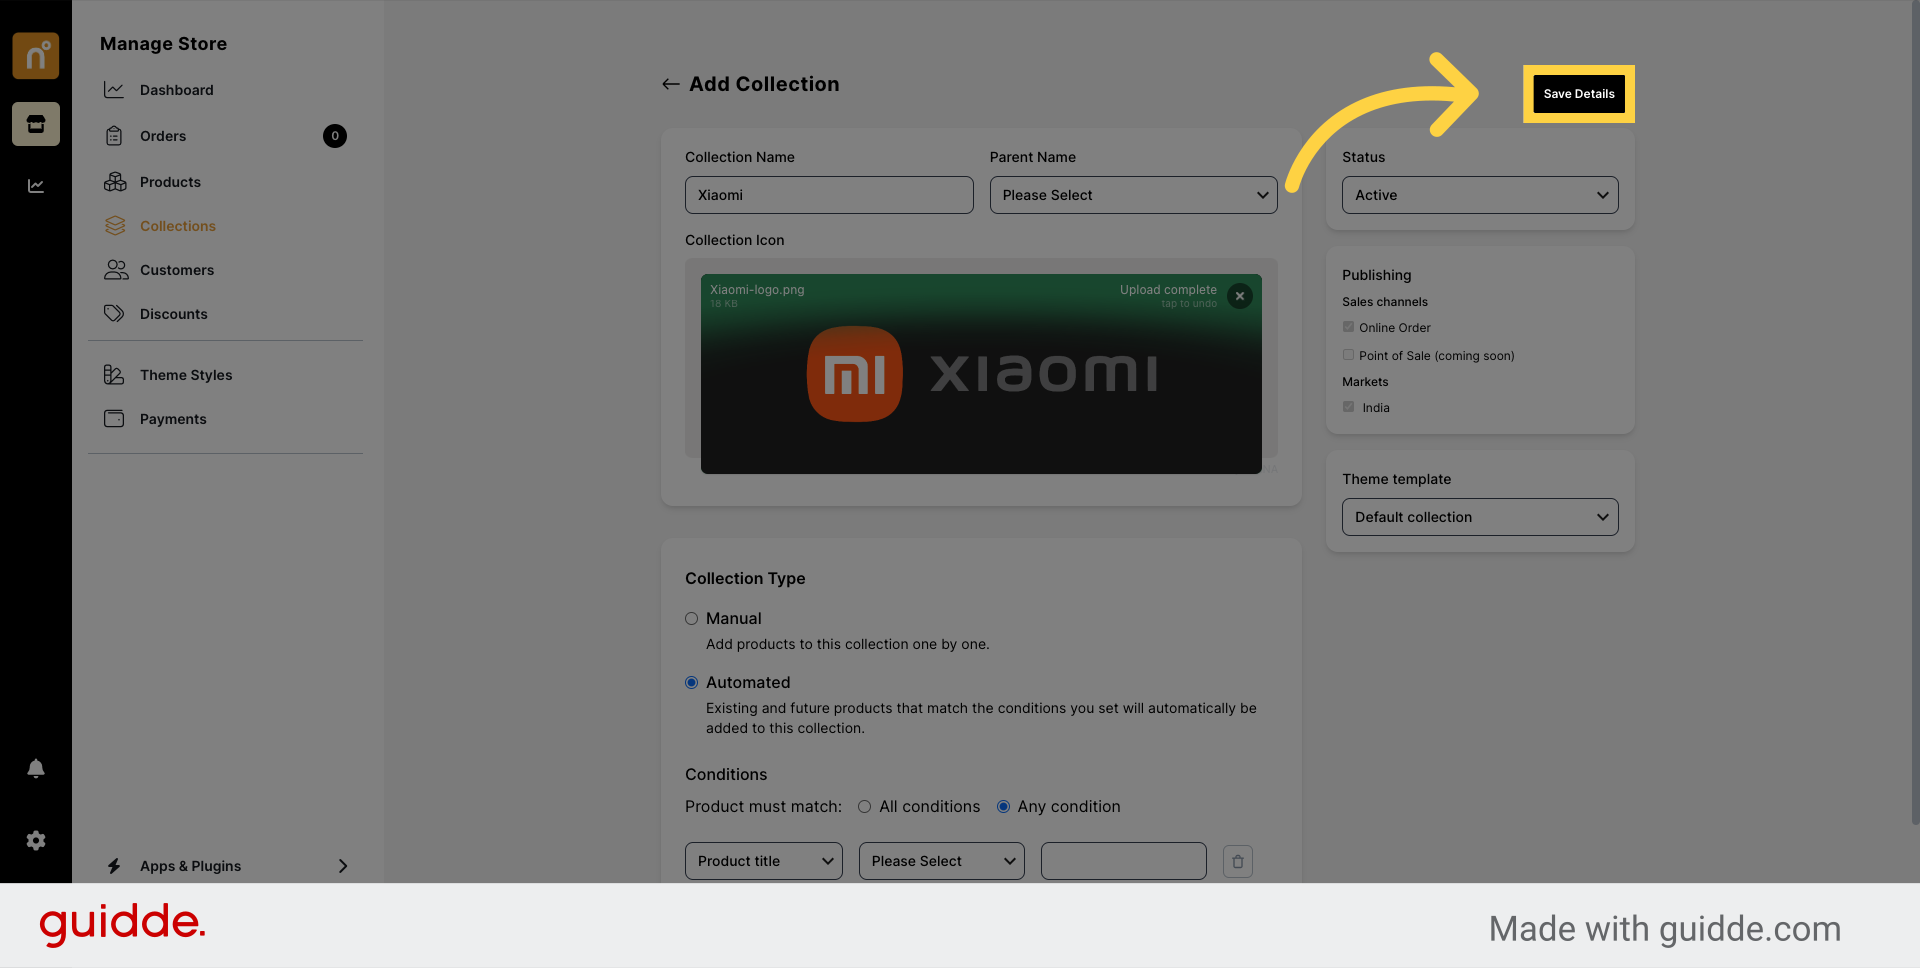
Once you've configured all the details, click on "Save Details" to create the collection successfully.
By following these steps, you can easily create collections on NearOnly and organize your products effectively for a seamless shopping experience.
Still need help?
Contact us