Learn how to utilize the Sell Via Link Plugin in Nearonly with these straightforward instructions. From accessing the Apps & Plugins section to saving the entered details, this guide will walk you through the process step by step.
Start by accessing your NearOnly Dashboard and navigate to the "Apps & Plugins" section.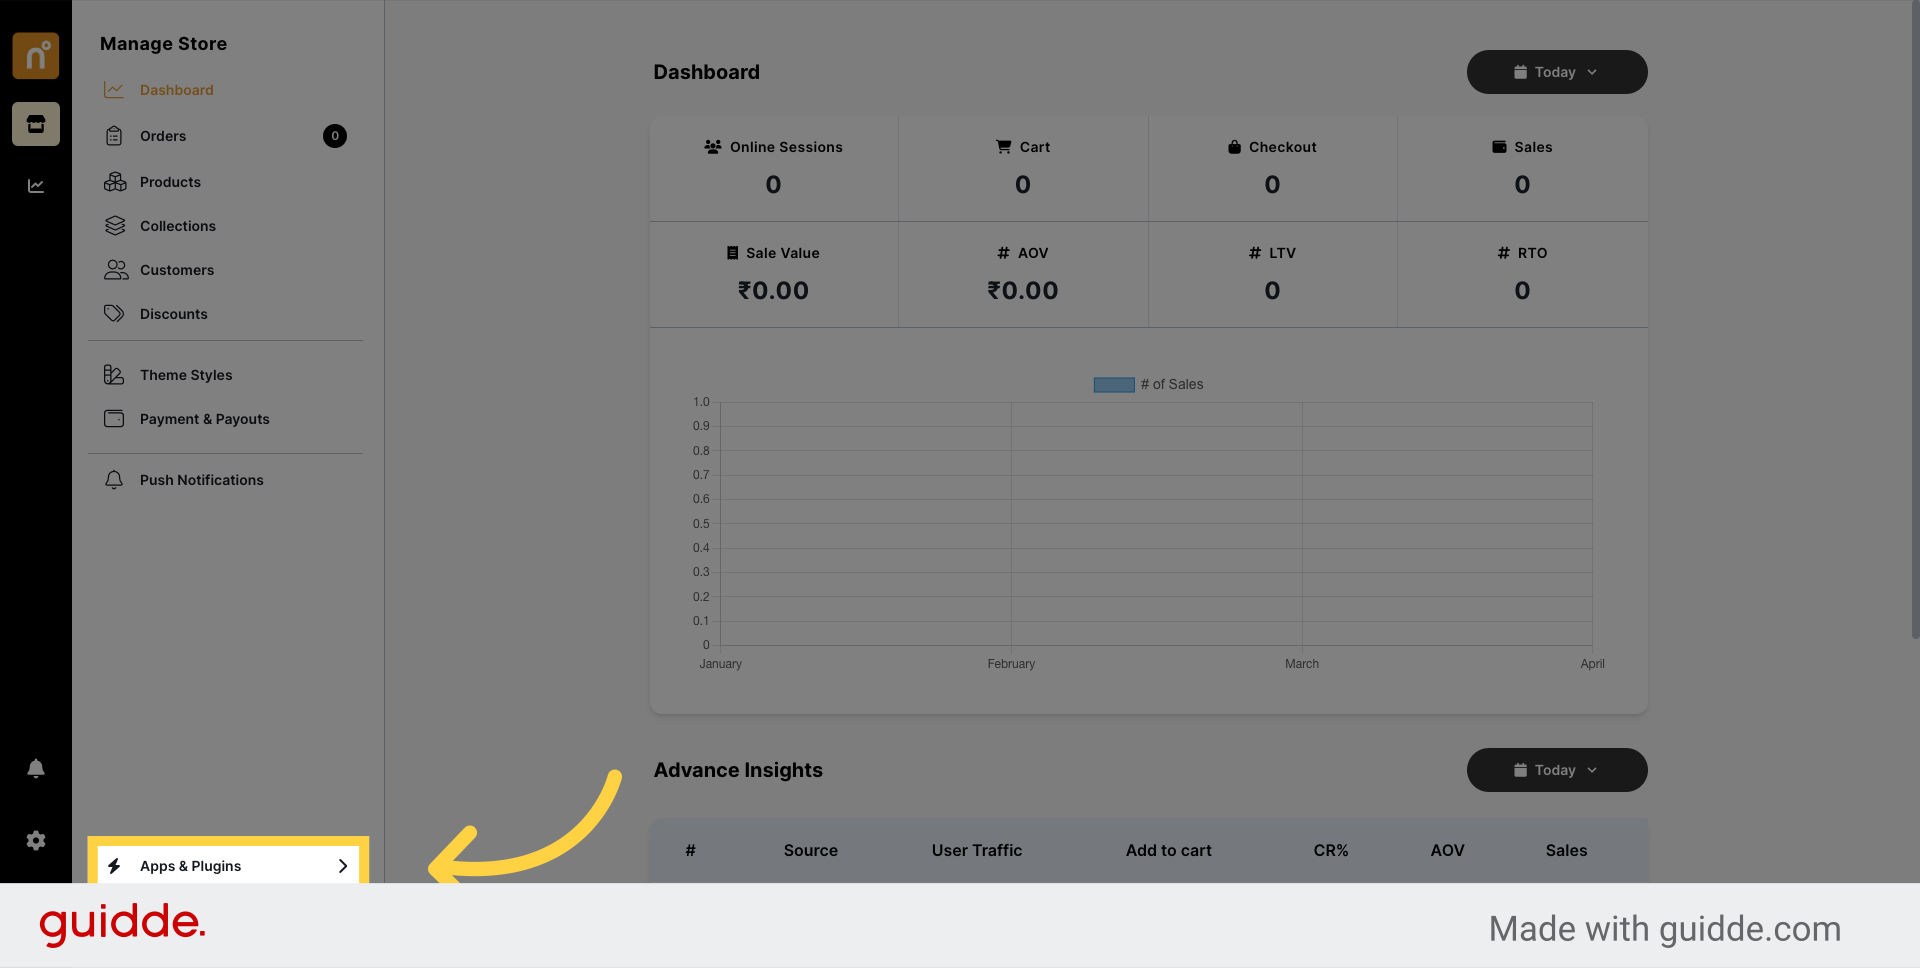
Start by accessing your NearOnly Dashboard and navigate to the "Apps & Plugins" section.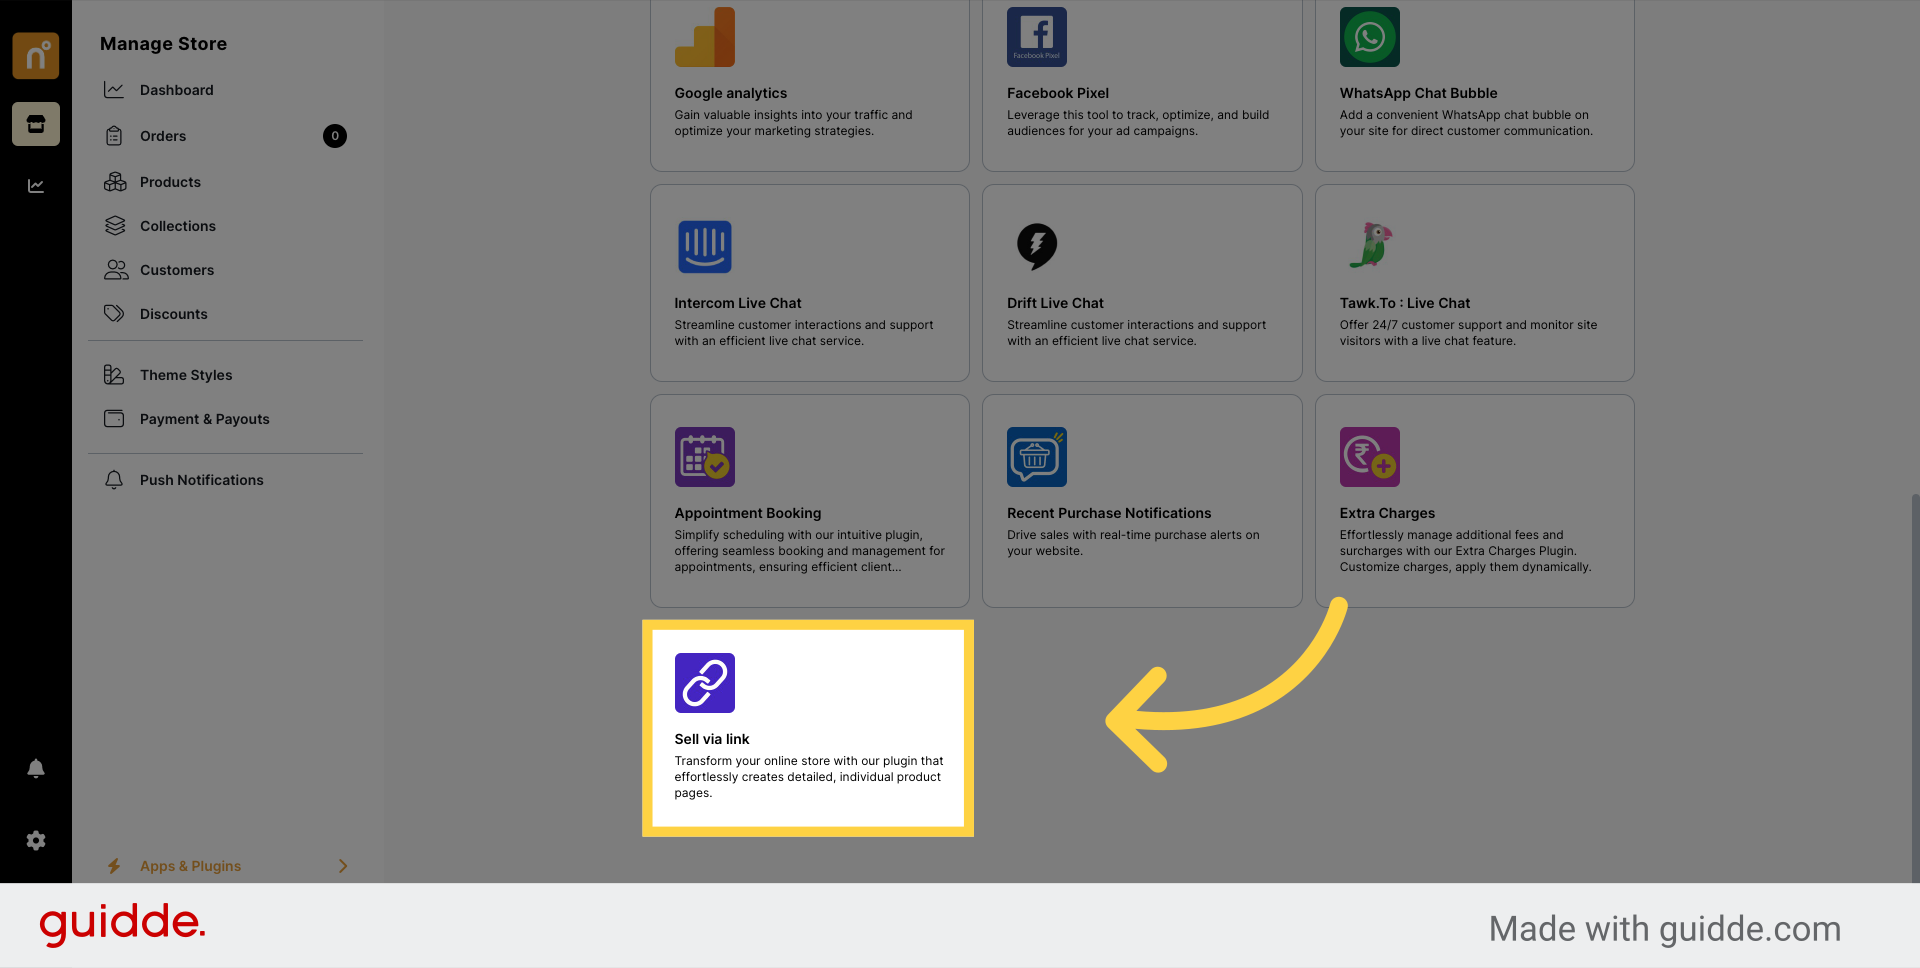
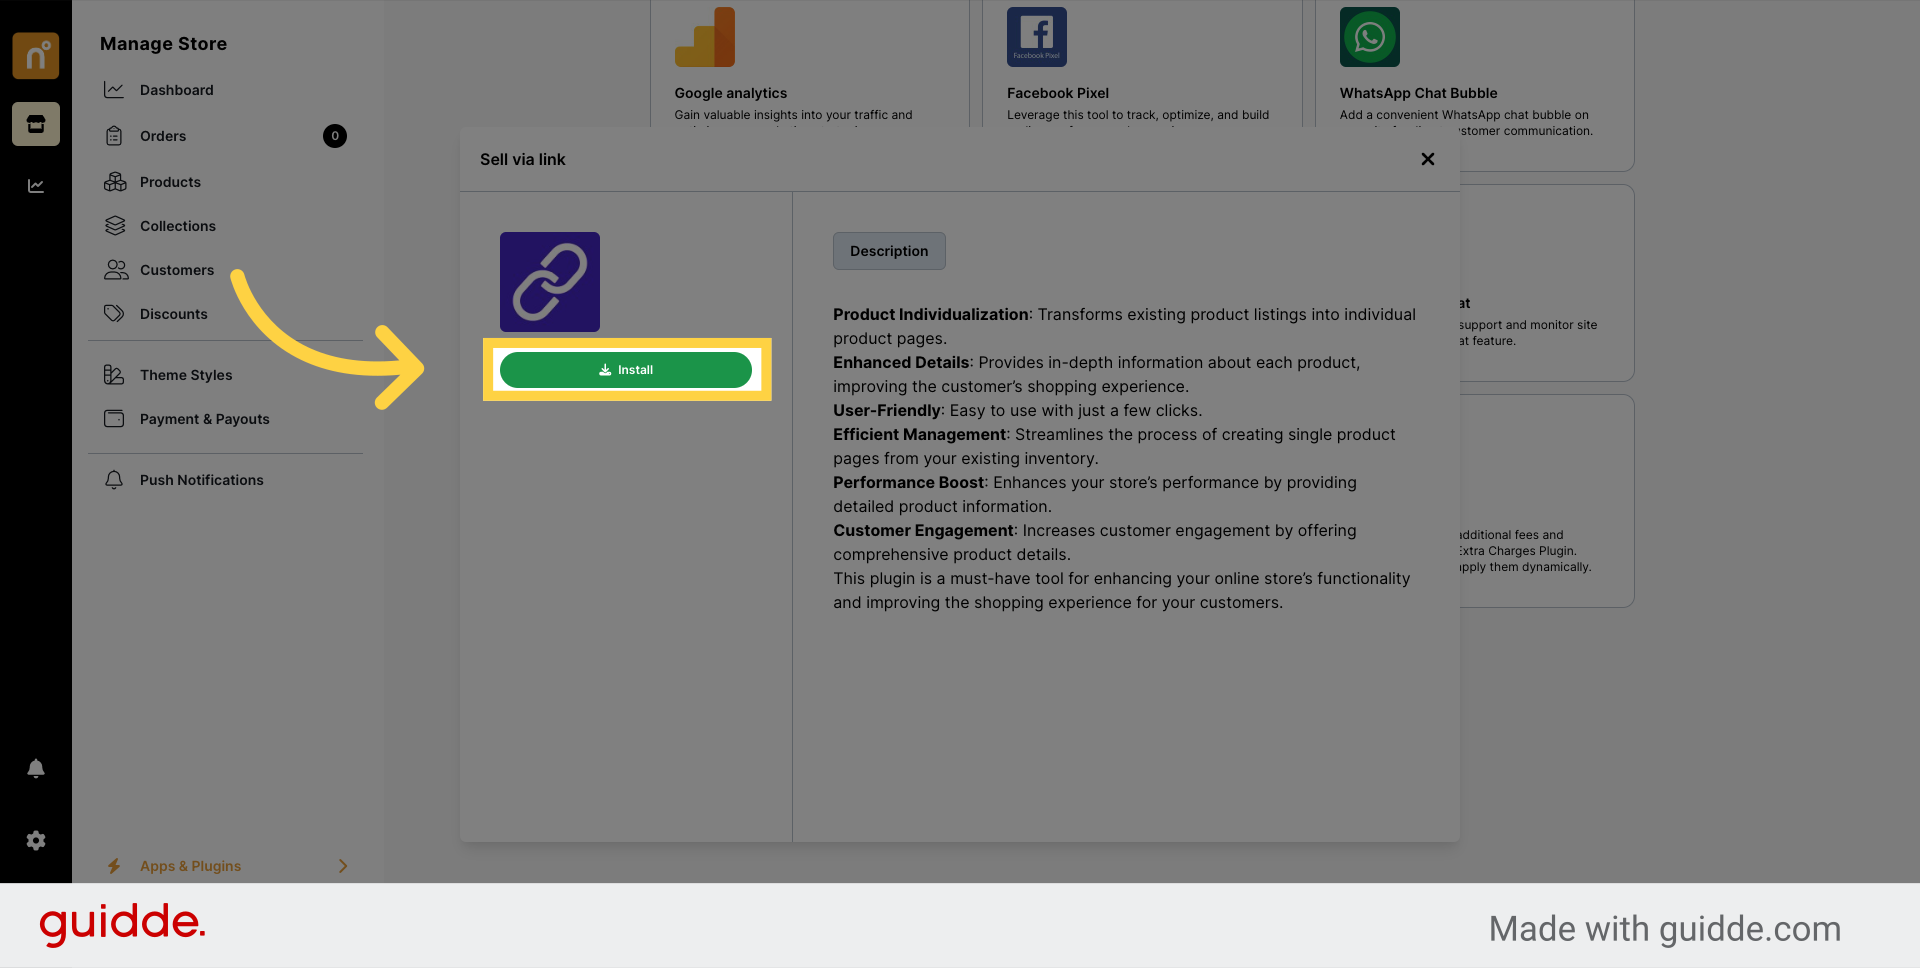
Once on the Sell Via Link page, you'll find the "Install" button. Click on it to install the plugin.
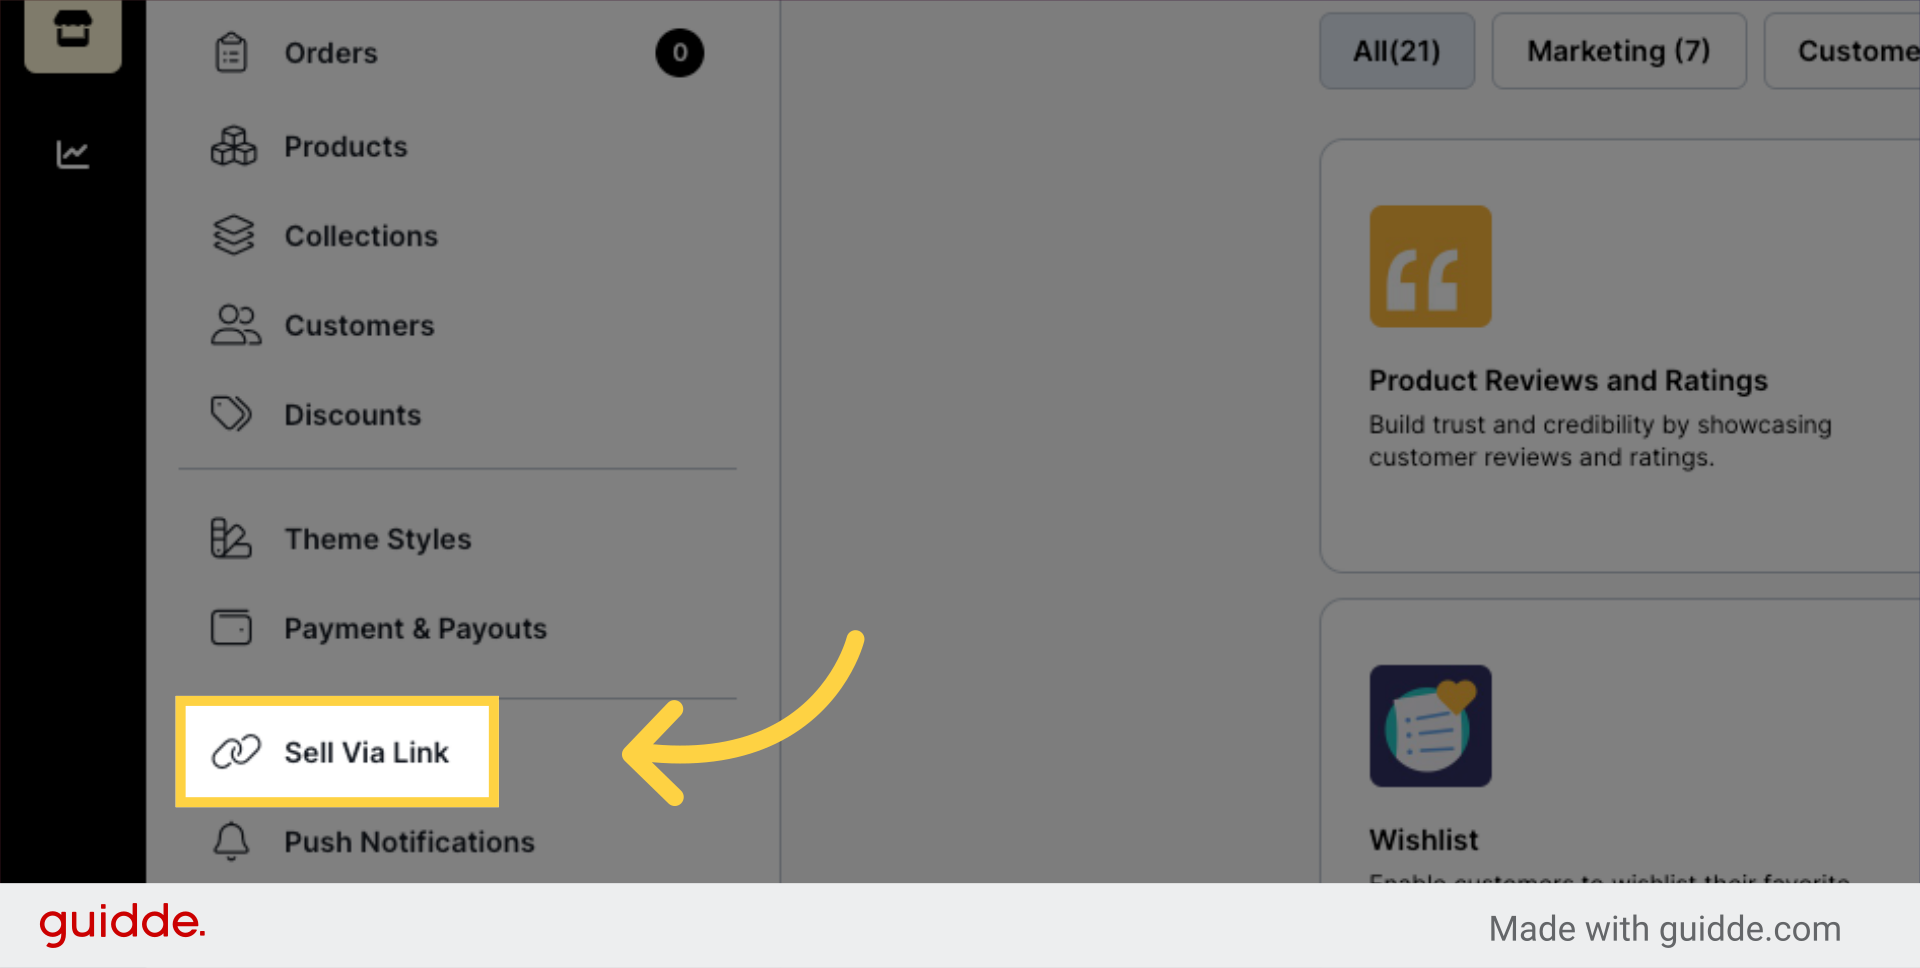
After successful installation, the Sell Via Link option will appear in the side menu. Click on it to continue.
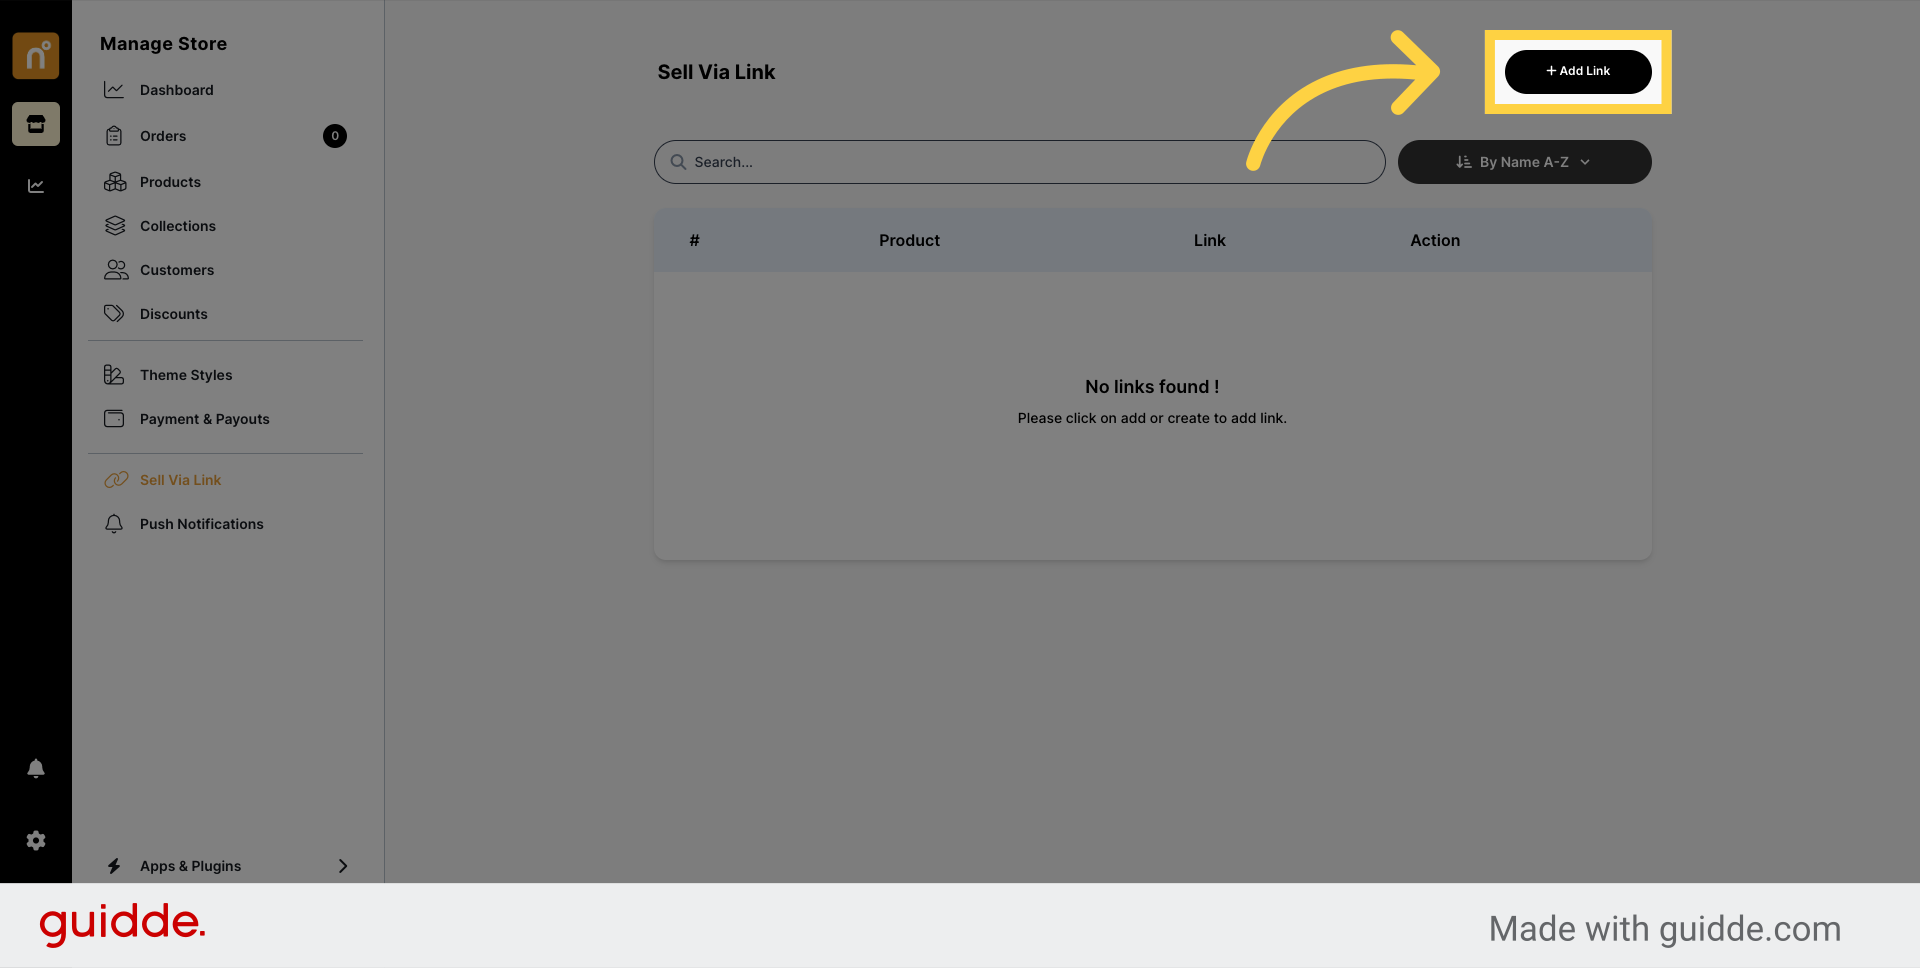
On the Sell Via Link page, you'll see an "Add Link" button. Click on it to create a new link.
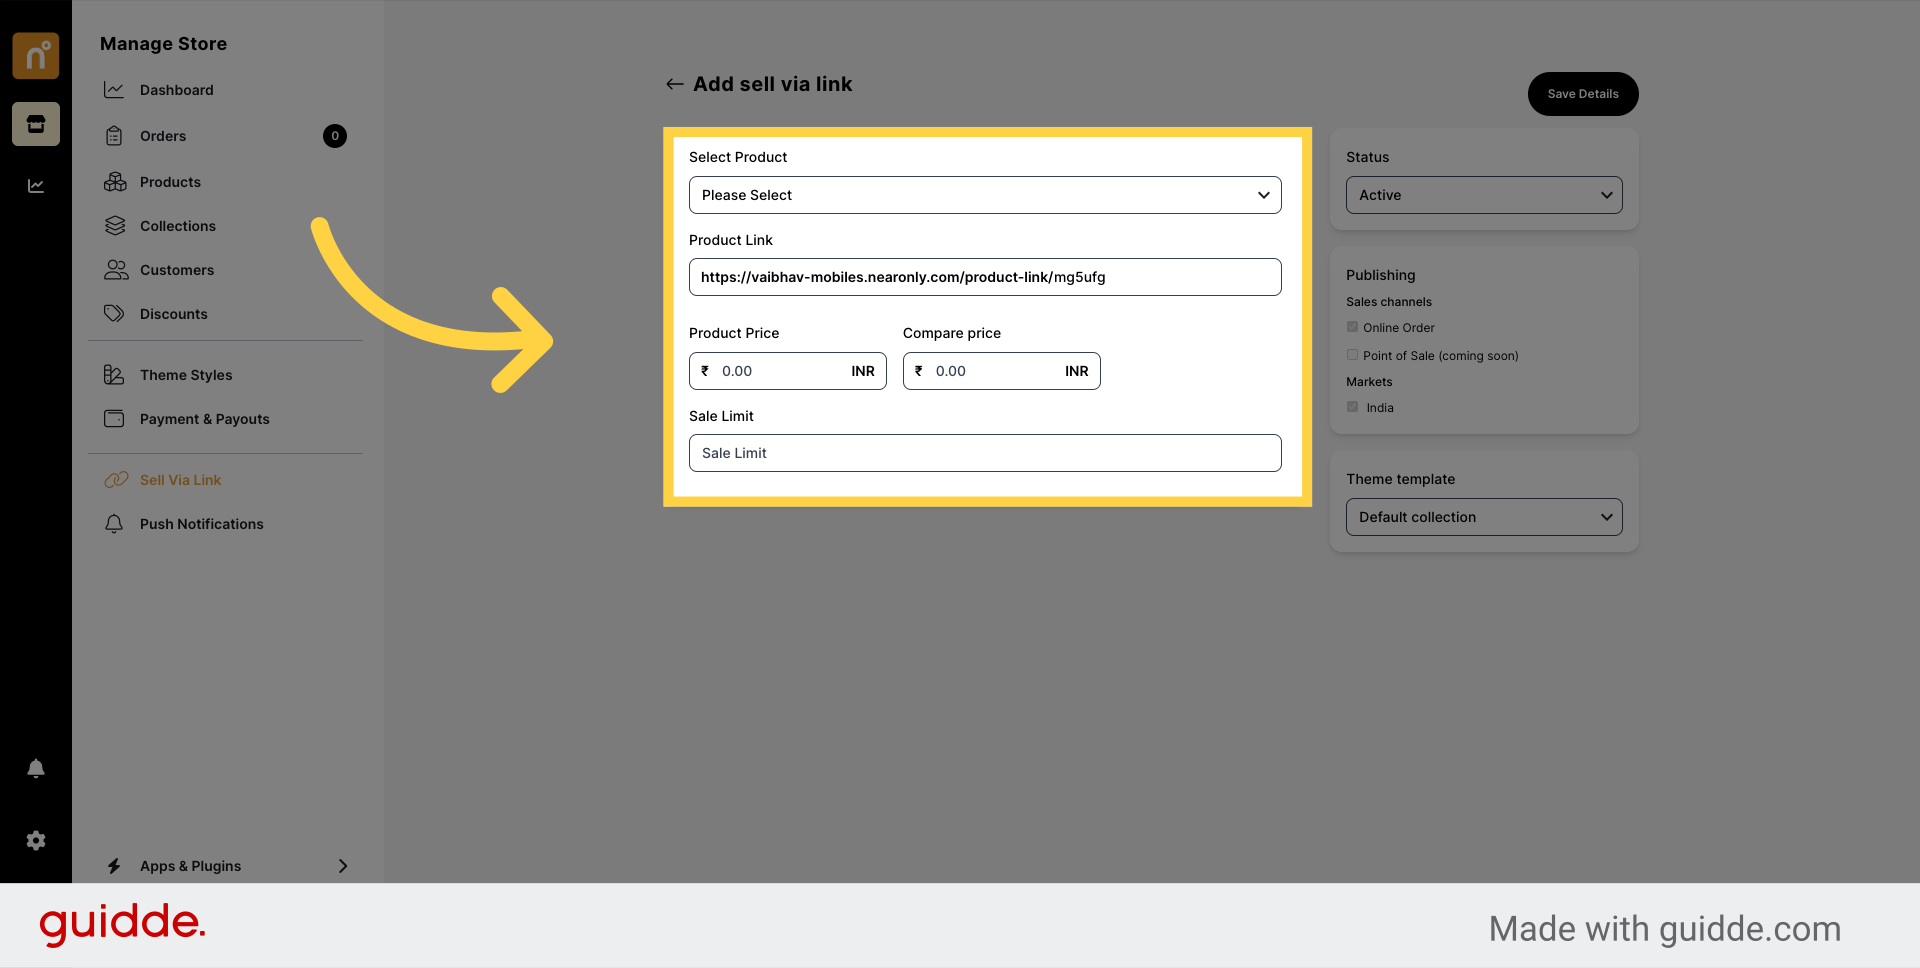
A default link will be generated. This link will automatically direct customers to the selected product page once configured. Customize the link details as needed, such as product selection and any additional settings.
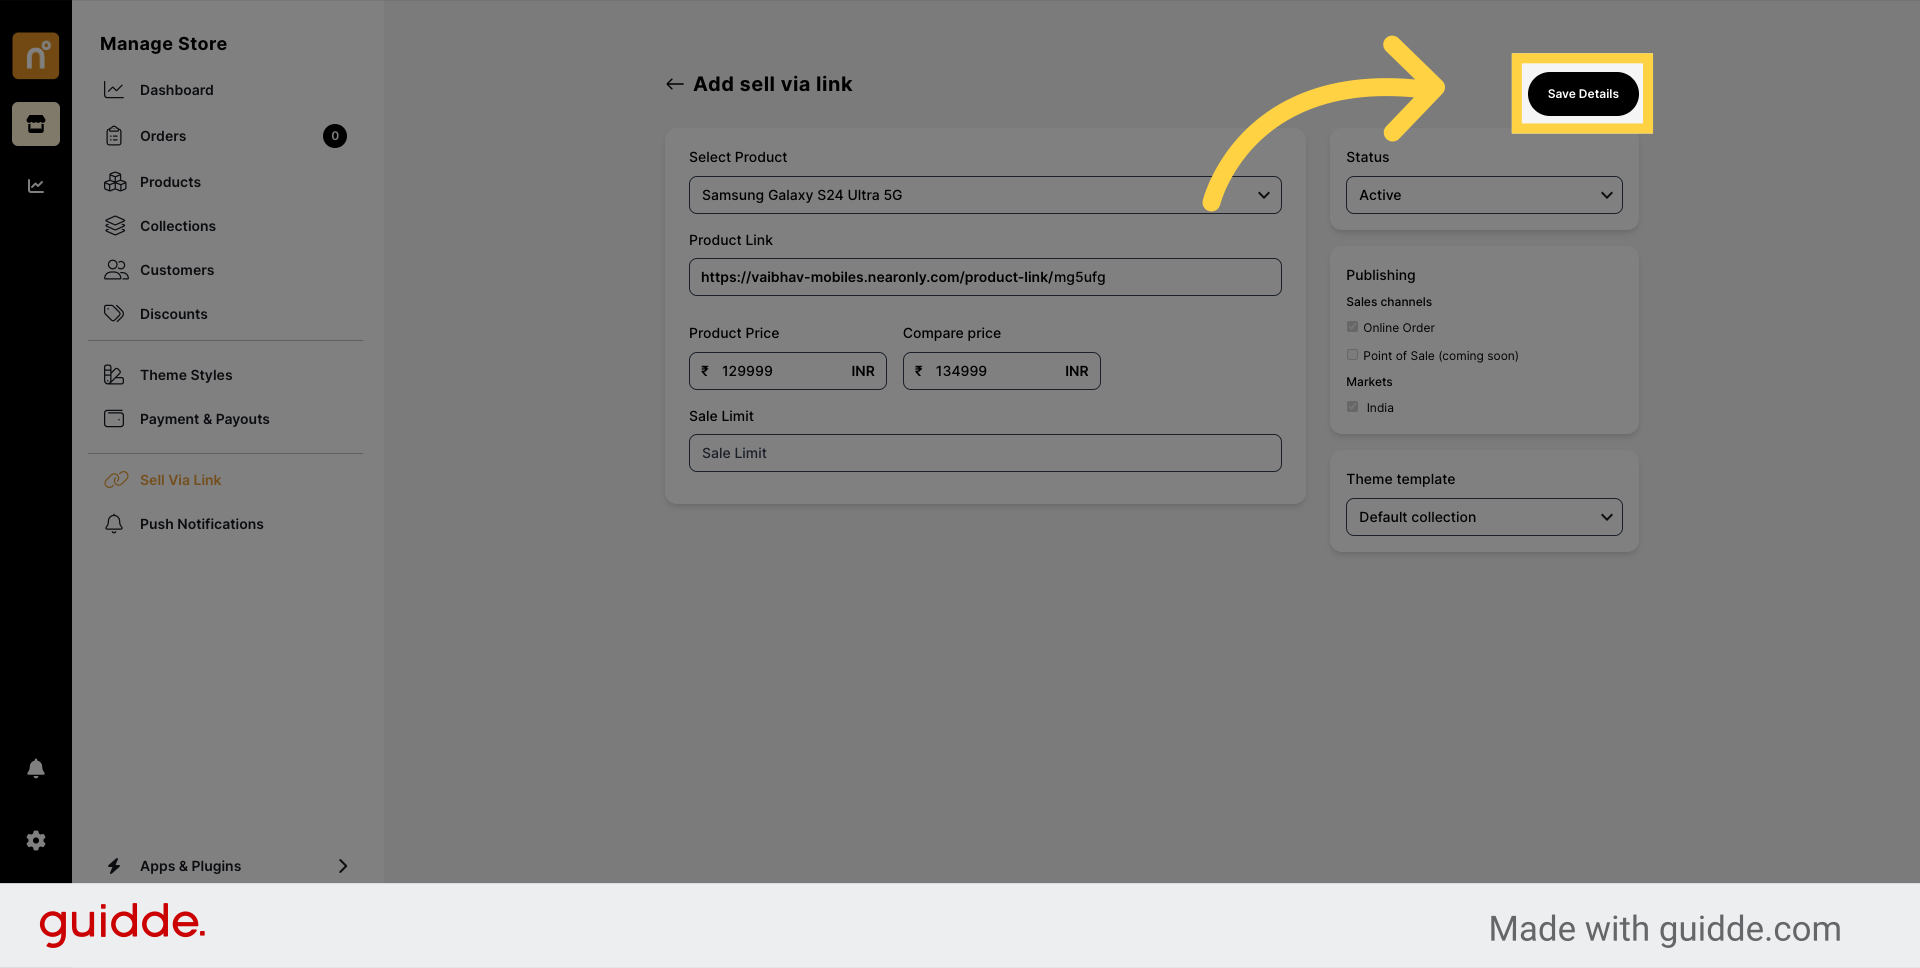
Once you've configured all the details, don't forget to click on "Save Details" to ensure your changes are applied.
By following these steps, you can efficiently utilize the Sell Via Link Plugin to streamline the process of promoting and selling your products on NearOnly.
Still need help?
Contact us