Enhance your NearOnly experience by mastering the Extra Charges Plugin. From installation to customization, this guide will walk you through effortlessly managing additional fees and surcharges. Elevate your online selling strategy with these simple steps.
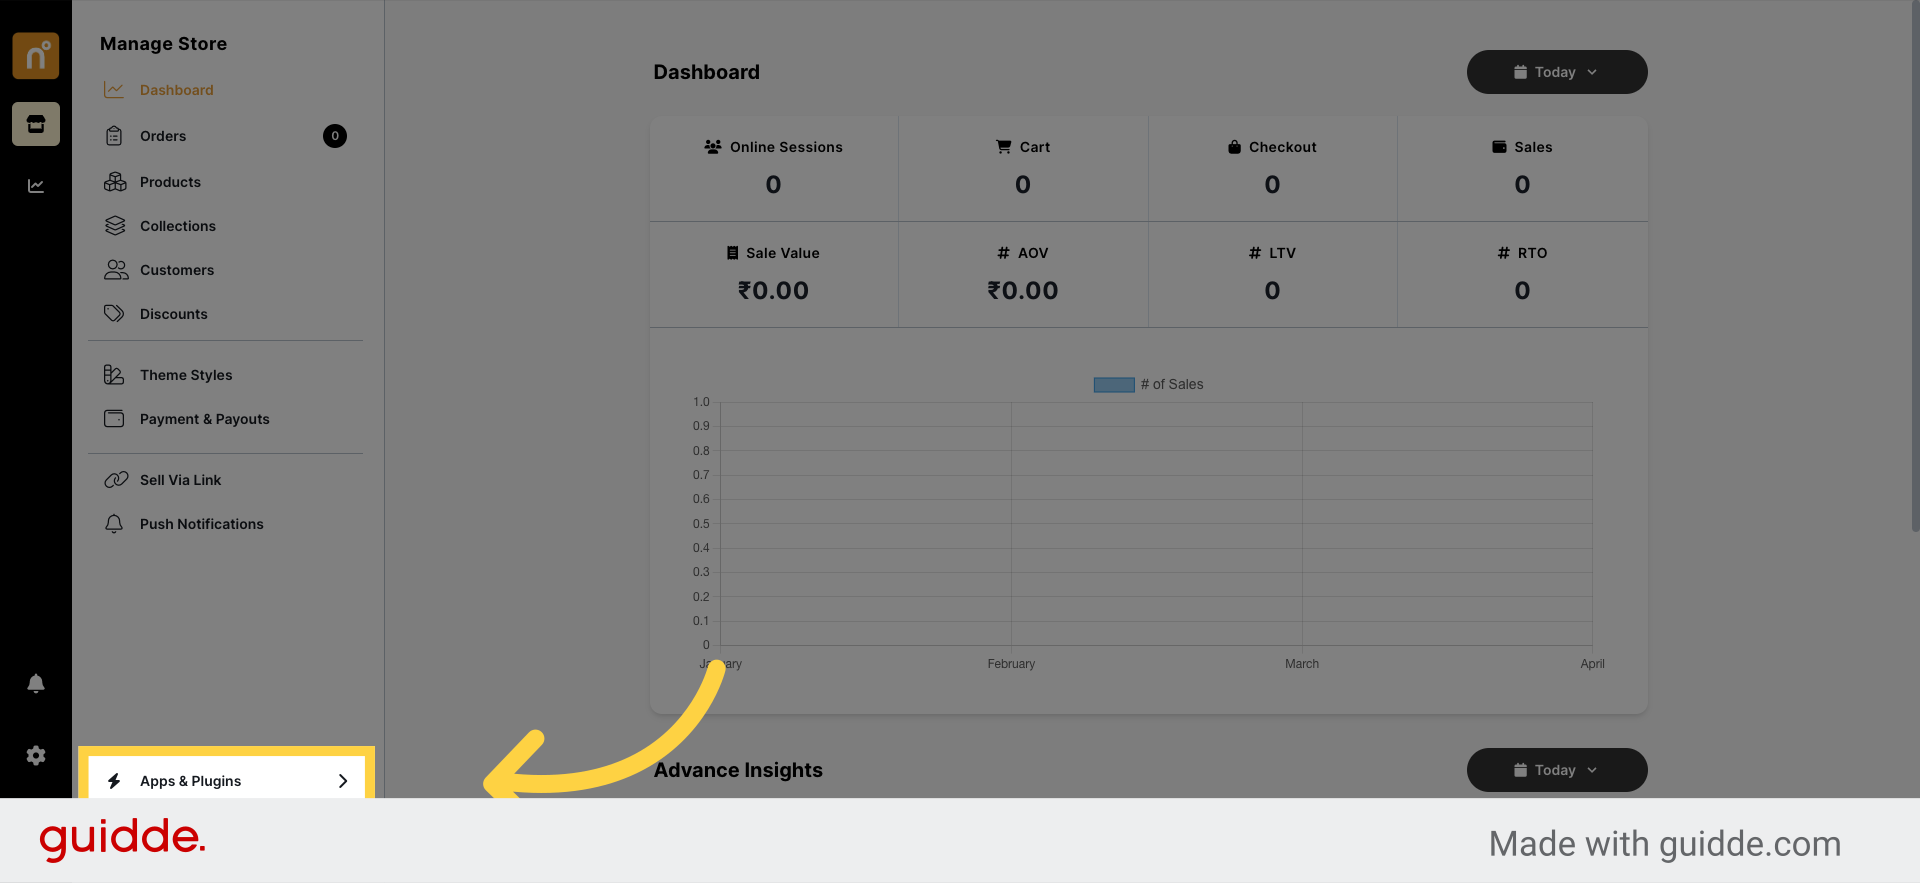
Start by navigating to the Dashboard and locating the "Apps & Plugins" button.
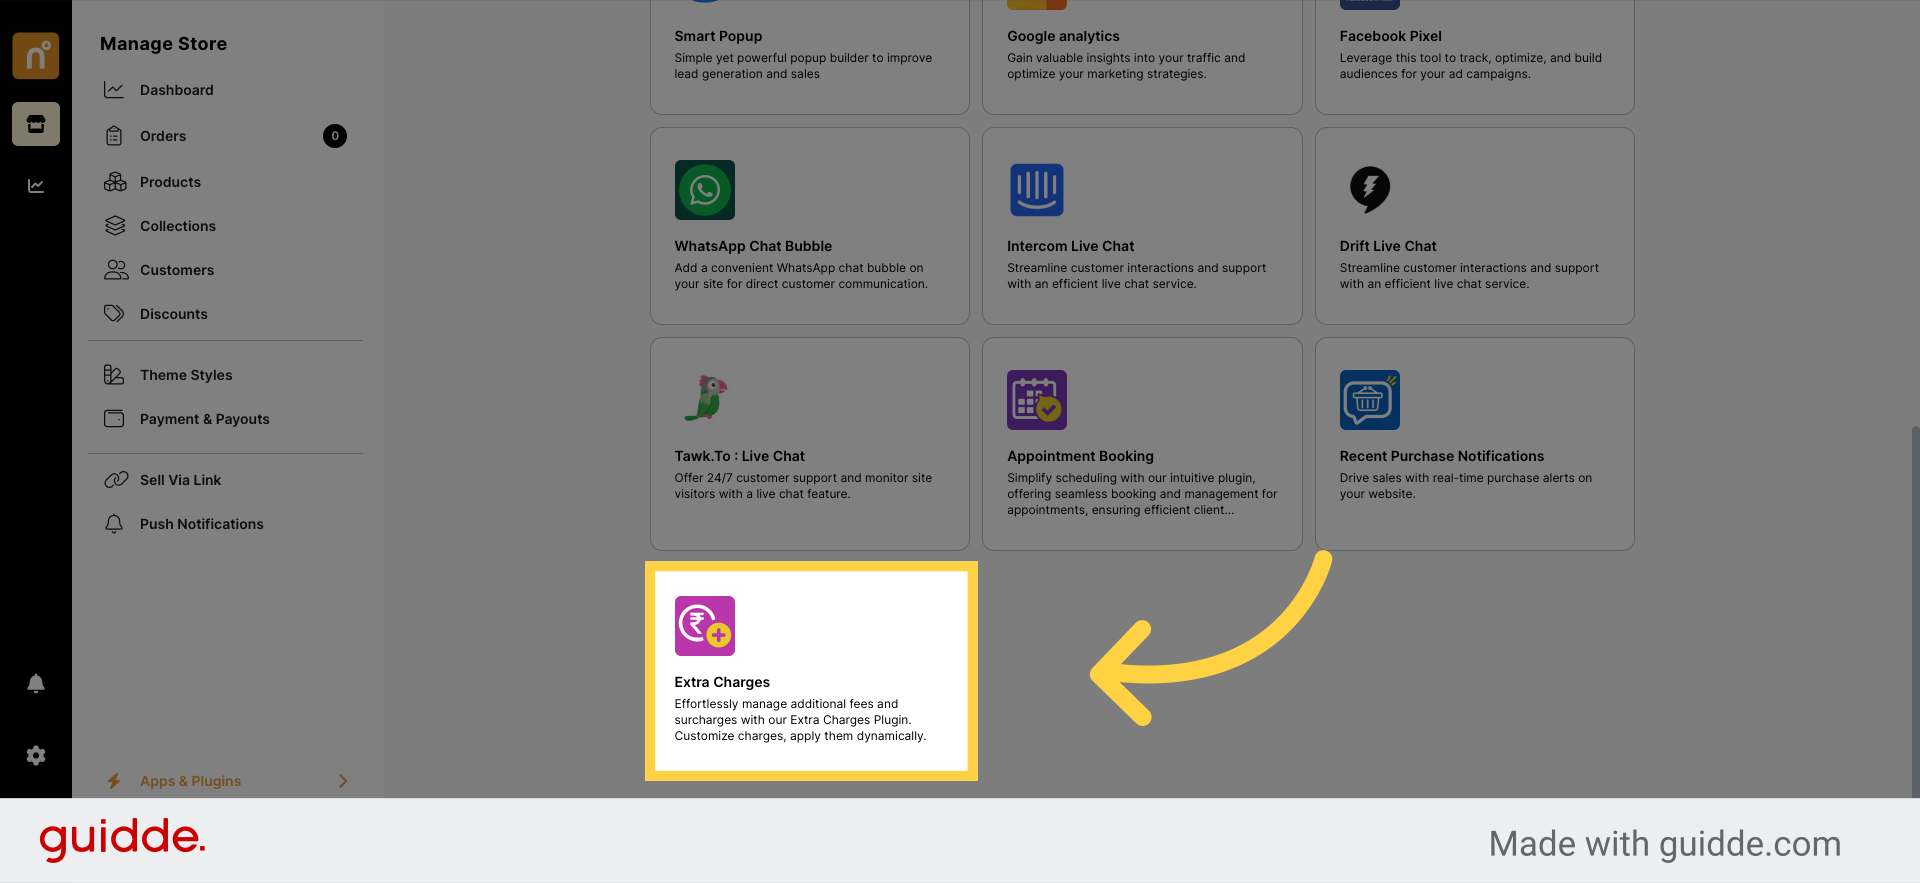
Within the Apps & Plugins section, locate the "Extra Charges" option and click on it.
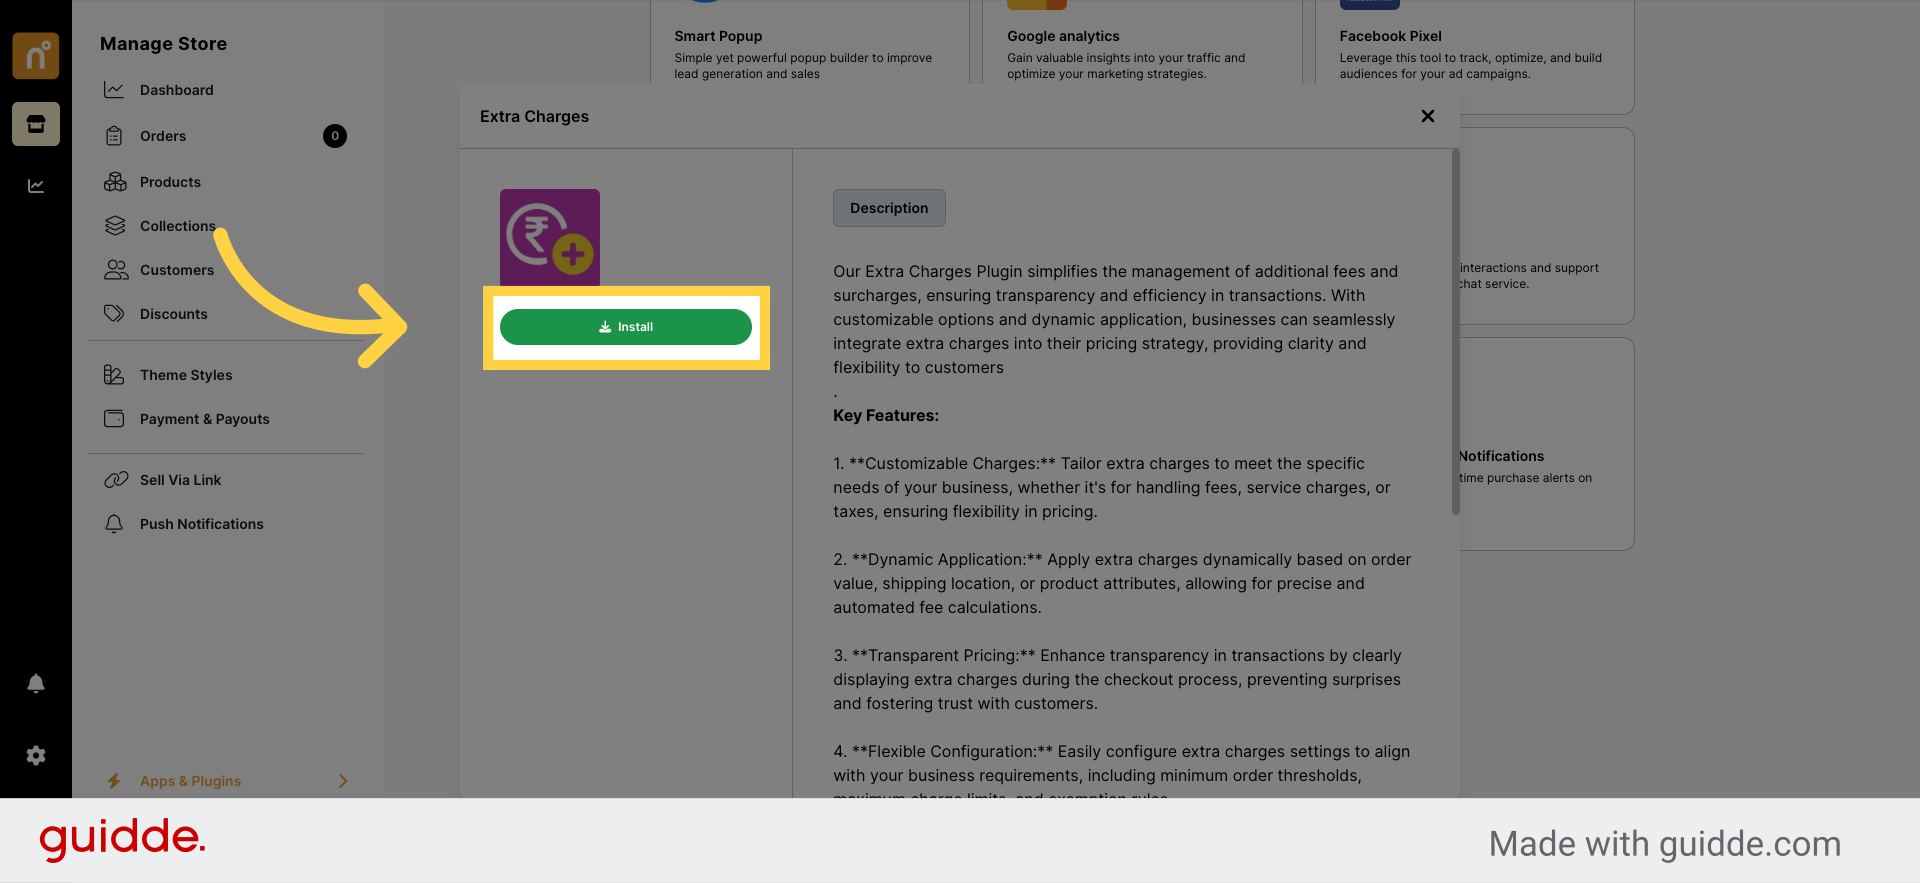
Once you've found the Extra Charges plugin, click on the "Install" button to add it to your store.
After installing the plugin, access its settings by clicking on the "Settings" option.
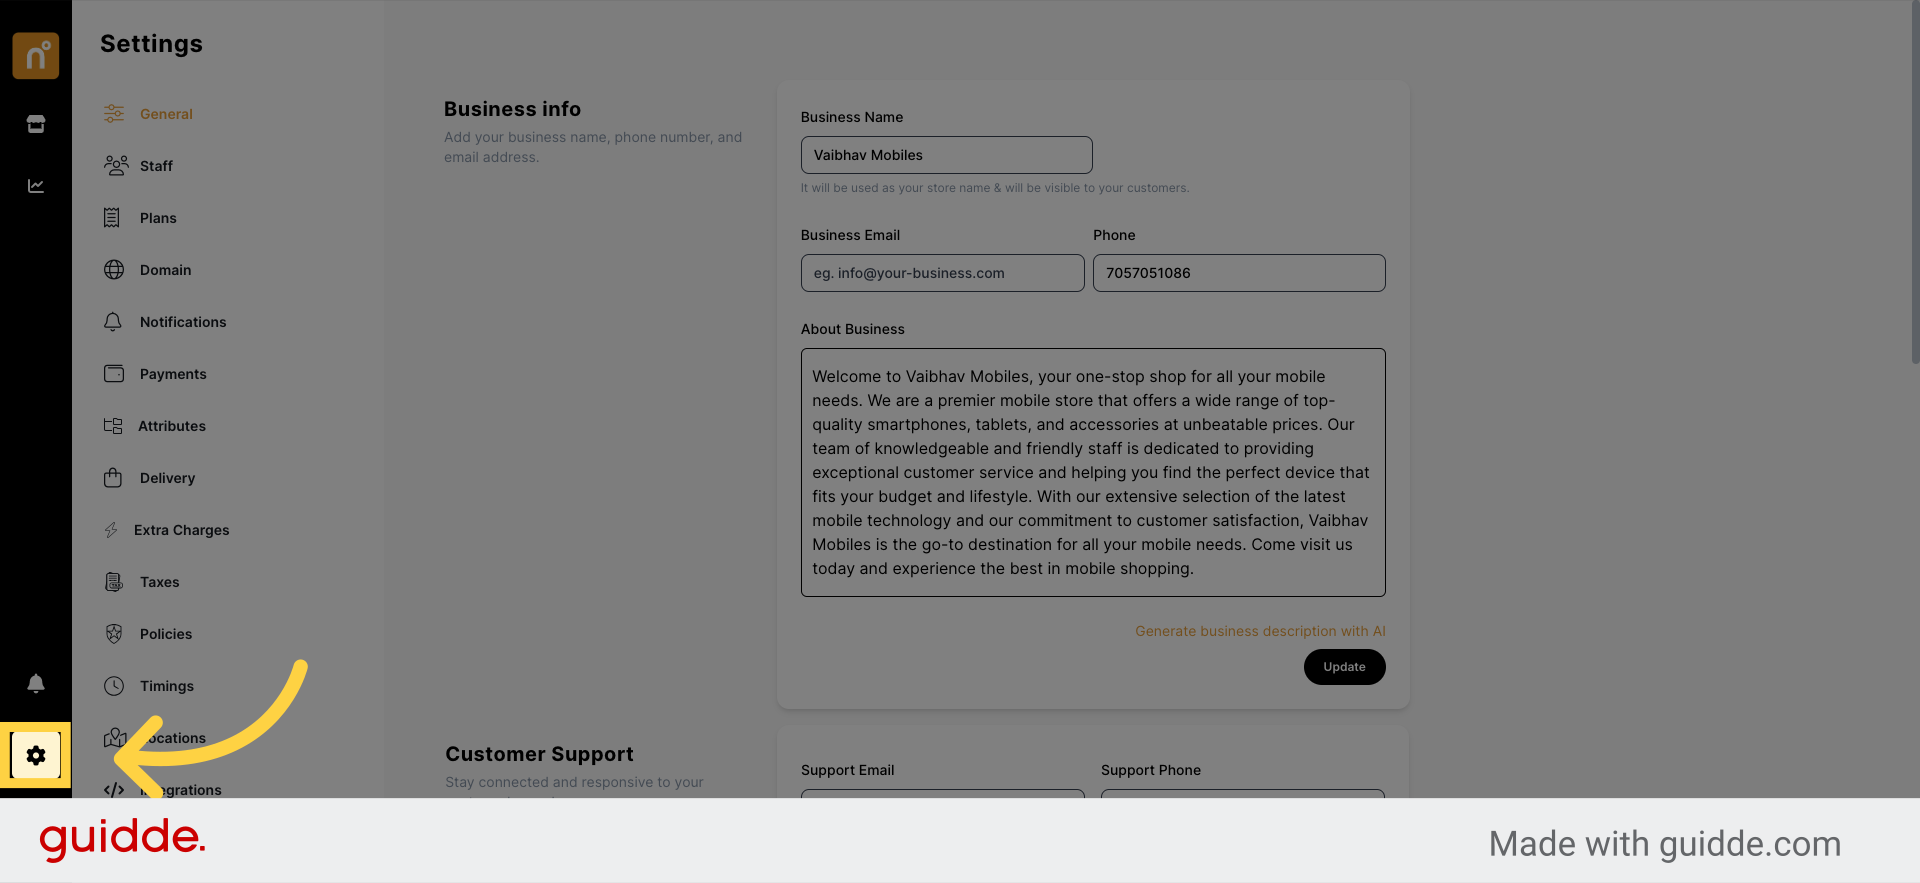
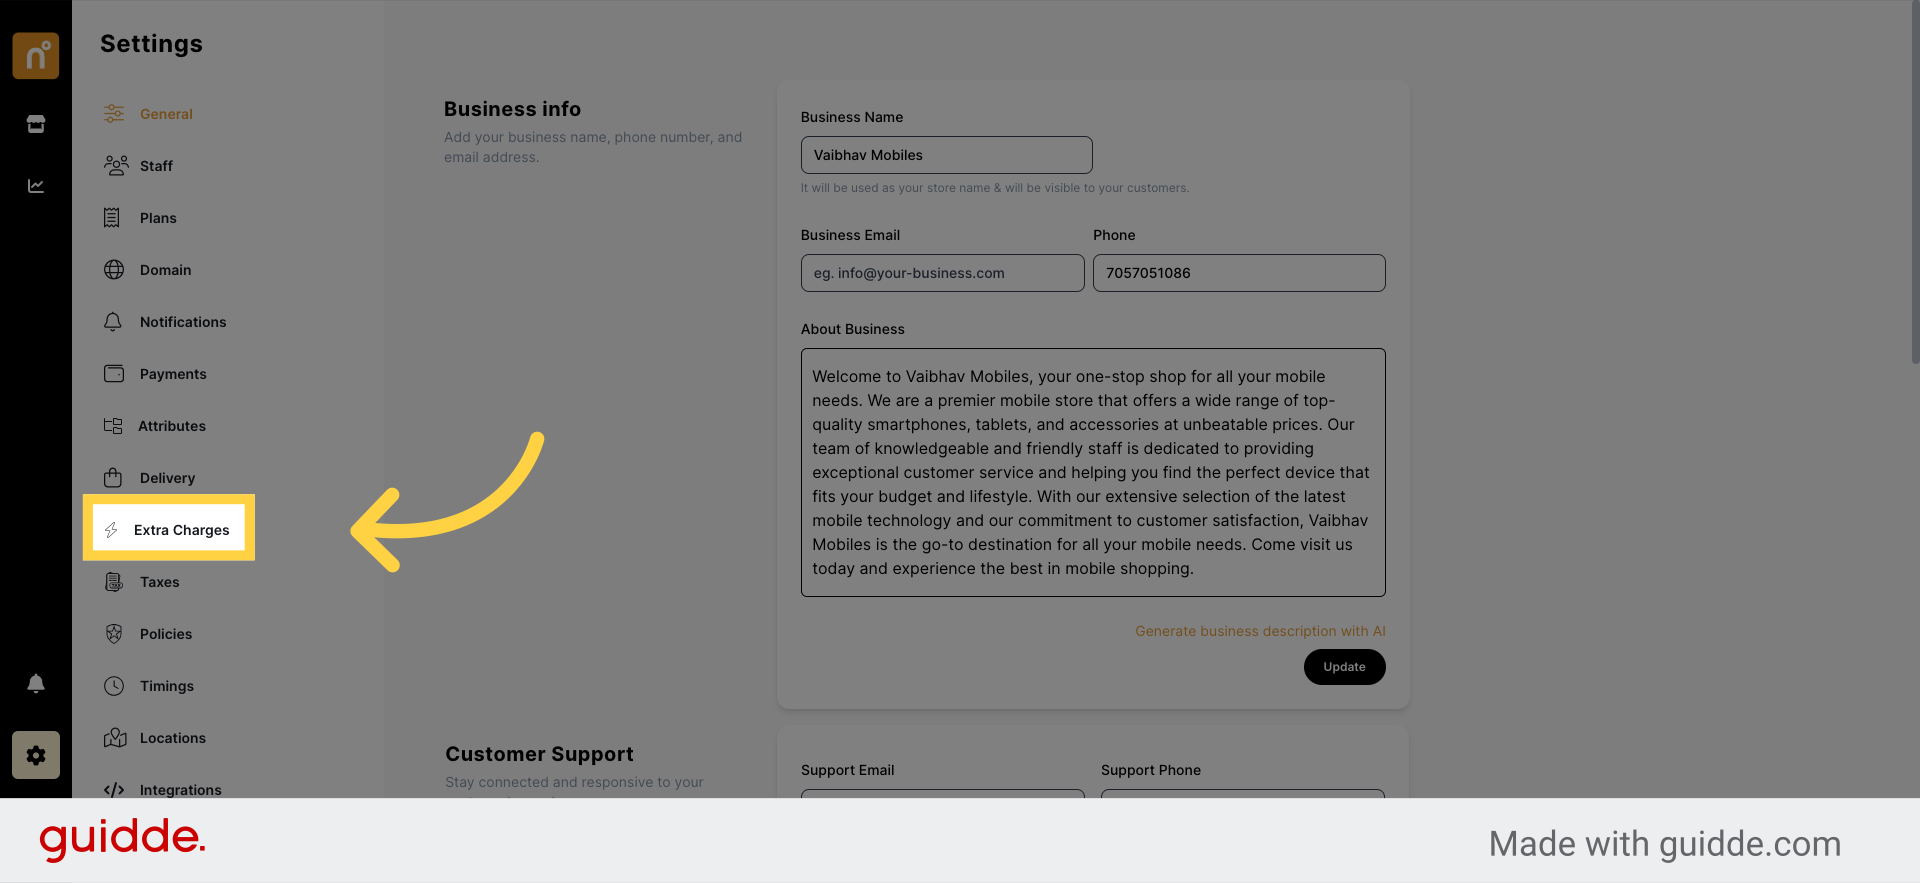
Within the settings, locate the "Extra Charges" option and click on it to proceed.
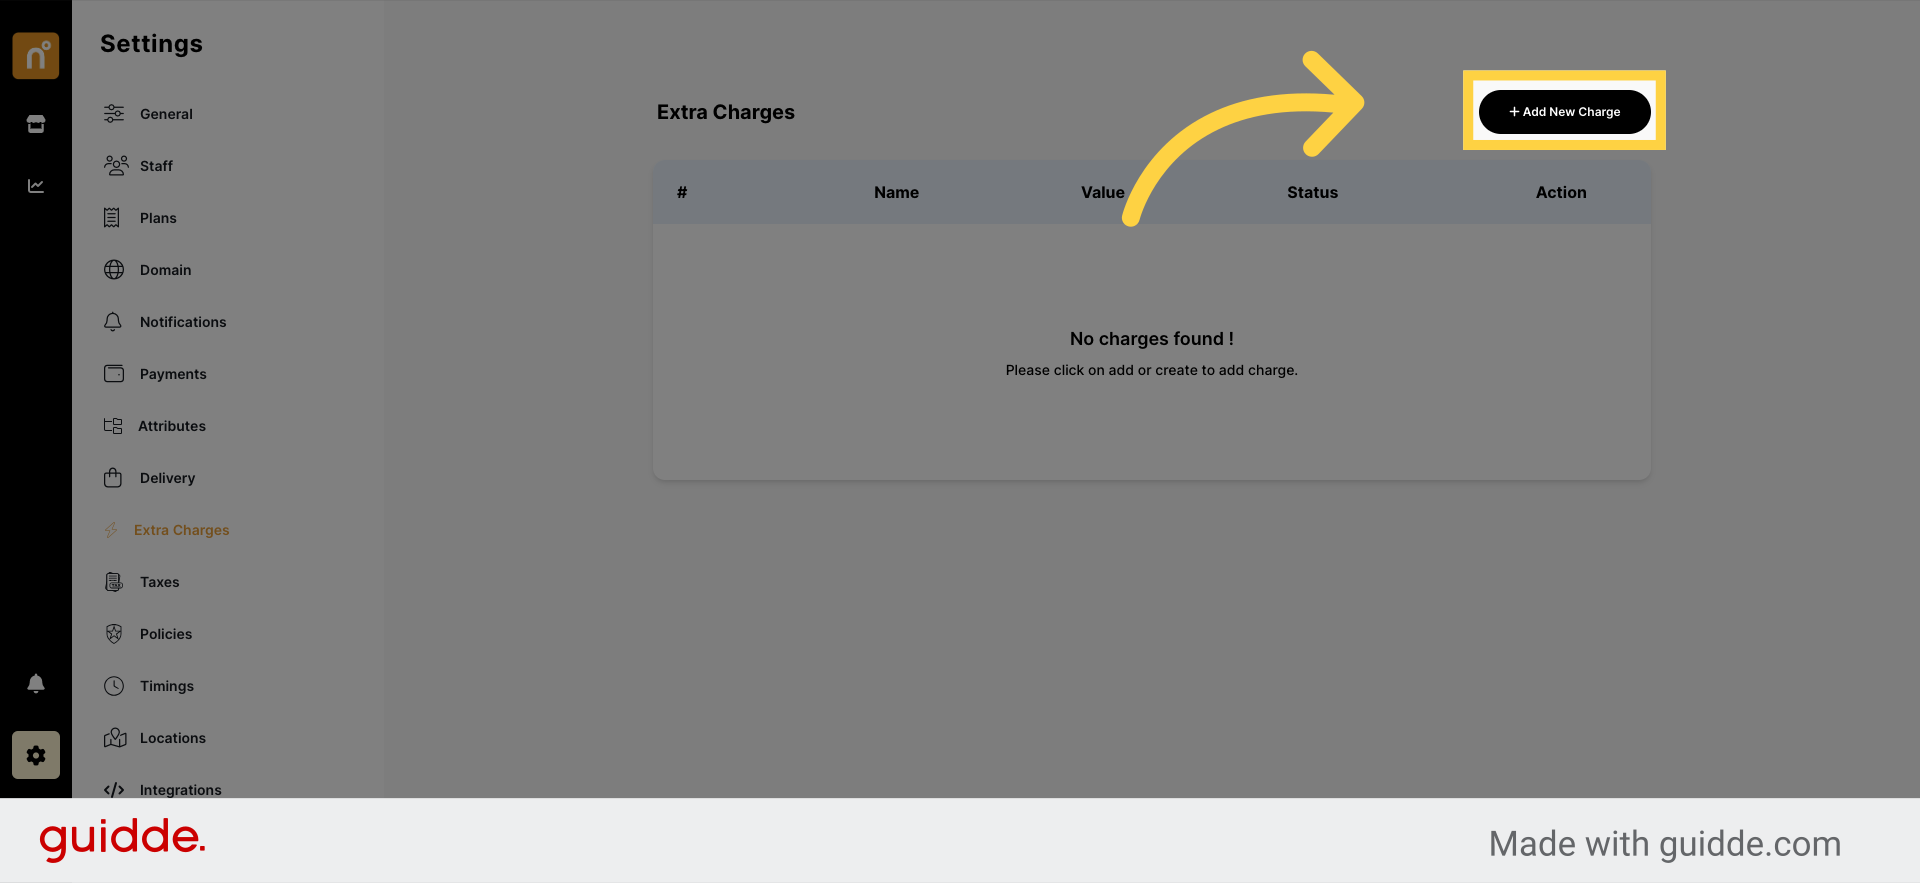
Within the Extra Charges section, find the "Add New Charges" button and click on it to create a new charge
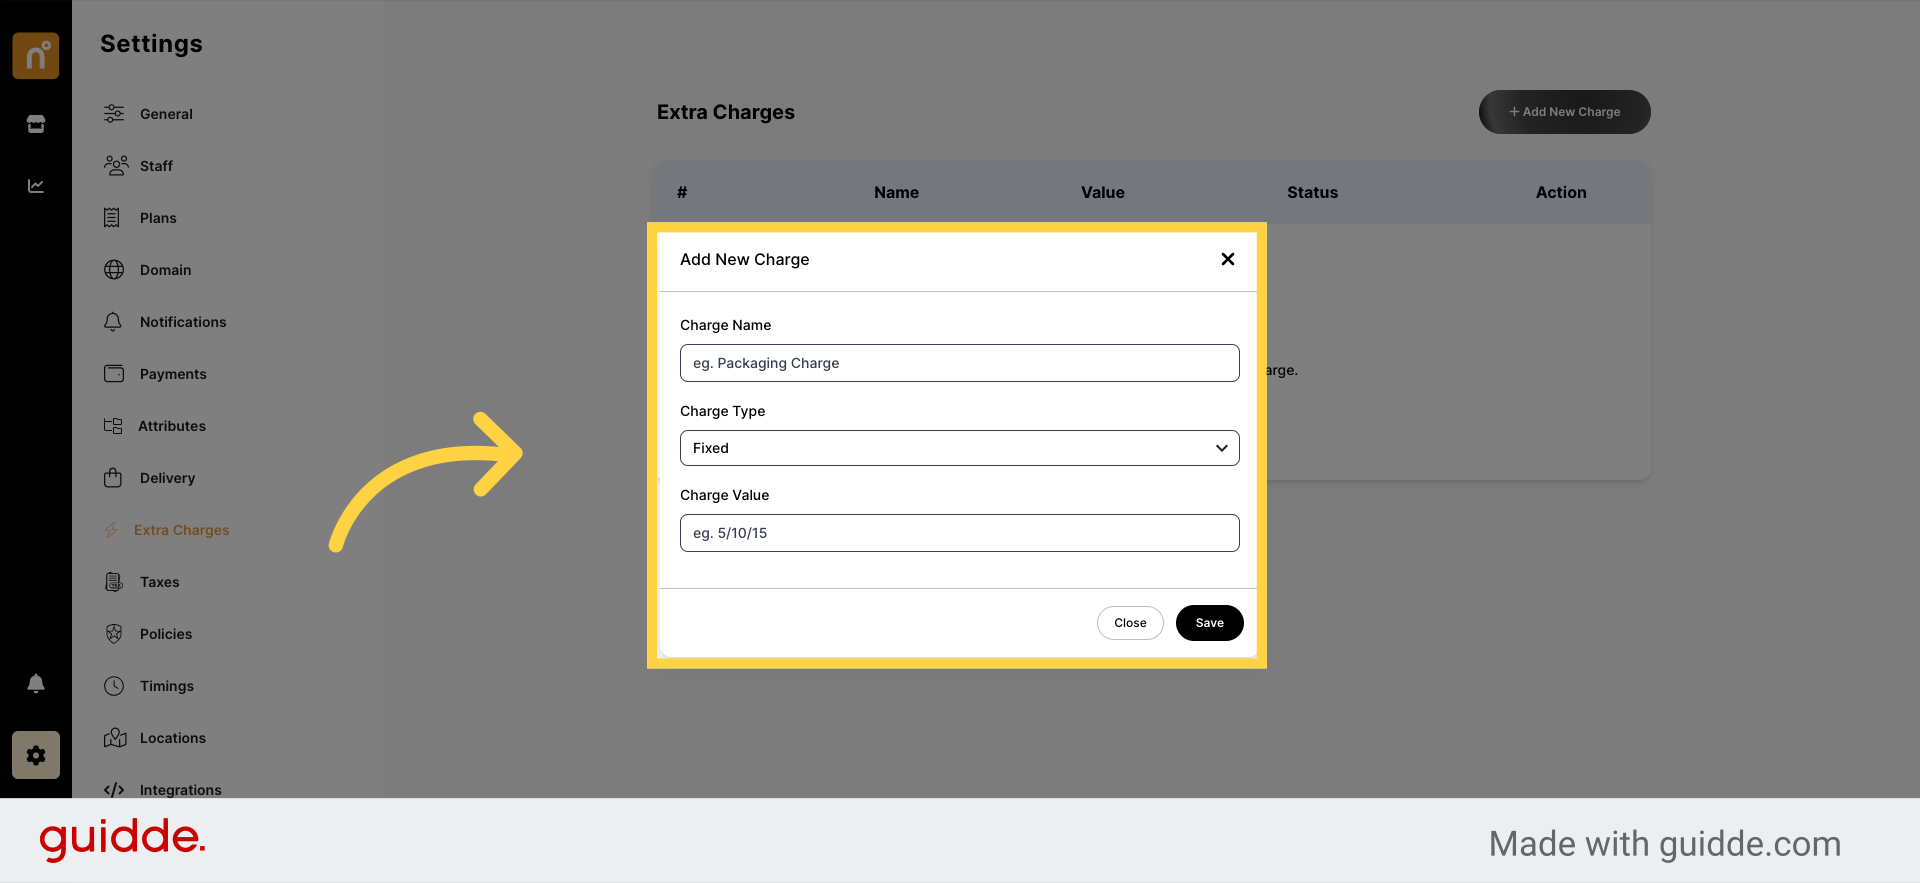
A pop-up window will appear where you can fill in the details of the new charge. Enter relevant information such as the name of the charge and its associated cost.
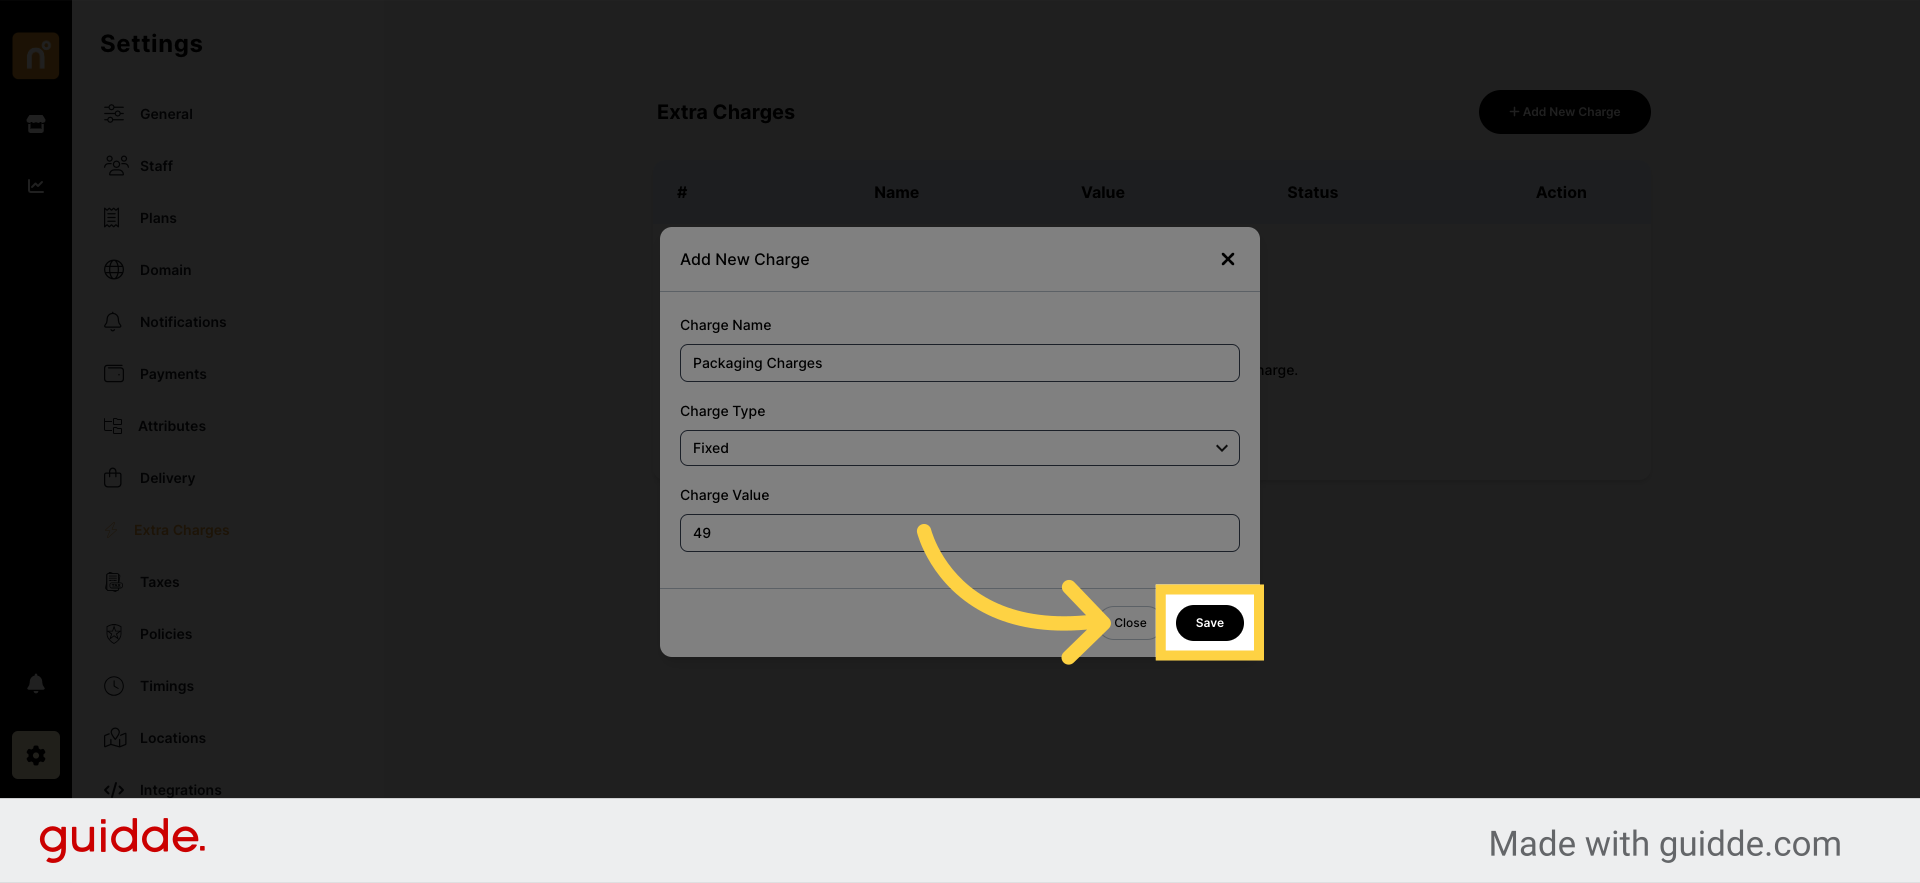
Once you've filled in the necessary details, click on the "Save" button to apply the extra charges to your store.
By following these steps, you can effectively utilize the Extra Charges Plugin in NearOnly to add additional fees or charges to your products or services as needed.
Still need help?
Contact us